Content Menu
● Understanding the Basics of Cardboard Boxes
>> Materials Required:
>> Types of Cardboard:
● Step-by-Step Guide to Making Custom Cardboard Boxes
>> Determine Dimensions
>> Sketch Your Design
>> Cut Out Your Template
>> Score Fold Lines
>> Assemble Your Box
>> Final Touches
● Tips for Customizing Your Boxes
● Conclusion
● Related Questions and Answers
>> 1. What tools do I need to make custom cardboard boxes?
>> 2. Can I use recycled cardboard for making boxes?
>> 3. How do I determine the right size for my box?
>> 4. What type of tape should I use for sealing my boxes?
>> 5. How can I make my custom boxes more durable?
● Citations:
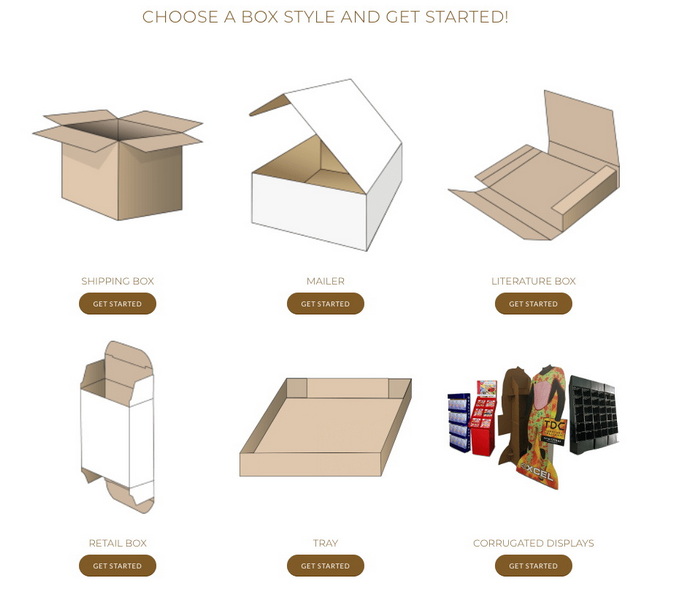
Creating custom cardboard boxes is a practical and rewarding skill that can save money and allow for tailored packaging solutions for various items. In this guide, we will explore the step-by-step process of designing and constructing your own cardboard boxes, ensuring they fit your specific needs. Whether you're preparing to ship items, store belongings, or create unique gifts, this detailed article will provide you with all the necessary information.

Understanding the Basics of Cardboard Boxes
Before diving into the construction process, it is essential to understand the materials and tools you will need.
Materials Required:
- Cardboard sheets (single or double-walled depending on the strength needed)
- Ruler or measuring tape
- Pencil or marker for marking dimensions
- Box cutter or utility knife
- Scissors (optional)
- Tape (packing tape or duct tape)
- Perforation tool (optional but recommended for clean folds)
Types of Cardboard:
There are different types of cardboard available, including:
- Single-wall cardboard: Made of one layer of fluted paper sandwiched between two liners; suitable for lightweight items.
- Double-wall cardboard: Composed of two layers of fluted paper; ideal for heavier items or when extra durability is required.
Step-by-Step Guide to Making Custom Cardboard Boxes
Determine Dimensions
The first step in creating a custom box is to measure the item you intend to package. This involves determining the length, width, and height of the item.
1. Measure the Item: Use a ruler or measuring tape to find the dimensions of your item.
2. Add Extra Space: Include additional space for packing materials such as bubble wrap or foam inserts. A good rule of thumb is to add at least an inch to each dimension.
Sketch Your Design
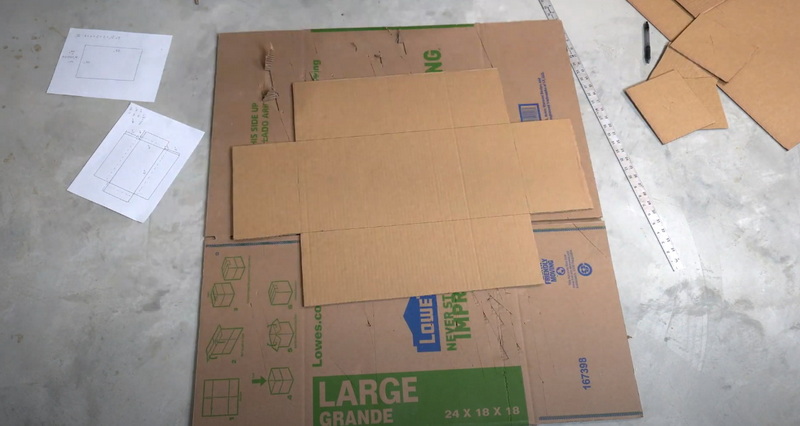
Once you have your measurements, sketch a layout for your box. This will serve as a template for cutting your cardboard.
1. Draw the Box Layout: On a piece of paper, draw a flat representation of your box. Include flaps that will fold over to secure the box.
2. Calculate Flap Sizes: Typically, flaps should be about 2-4 inches wide depending on the size of the box.
Cut Out Your Template
Using your sketch as a guide, transfer your design onto a piece of cardboard.
1. Mark Dimensions: Use a ruler to mark out the dimensions on the cardboard.
2. Cut Carefully: With a box cutter, cut along the marked lines. Ensure you are using a cutting mat or scrap cardboard underneath to protect your work surface.

Score Fold Lines
To facilitate easy folding, score along the lines where you want to fold the cardboard.
1. Use a Scoring Tool: If available, use a scoring tool to lightly cut along the fold lines without cutting through the cardboard.
2. Alternative Method: If you don't have a scoring tool, use a box cutter lightly along the fold lines.
Assemble Your Box
With your template cut and scored, it's time to assemble your box.
1. Fold Along Score Lines: Carefully fold along all scored lines to create the shape of your box.
2. Secure Flaps: Use tape to secure the flaps in place. Start by taping one end and then work your way around.
Final Touches
Once assembled, check that everything is secure and make any necessary adjustments.
1. Test Fit Your Item: Place your item inside to ensure it fits well.
2. Reinforce if Necessary: If you feel it needs more support, add additional tape or even glue at critical joints.
Tips for Customizing Your Boxes
- Design Aesthetics: Consider decorating your boxes with paint, stickers, or printed designs if they are intended for gifts or presentations.
- Reinforcement Techniques: For heavier items, consider adding additional layers of cardboard or using double-walled cardboard for extra strength.
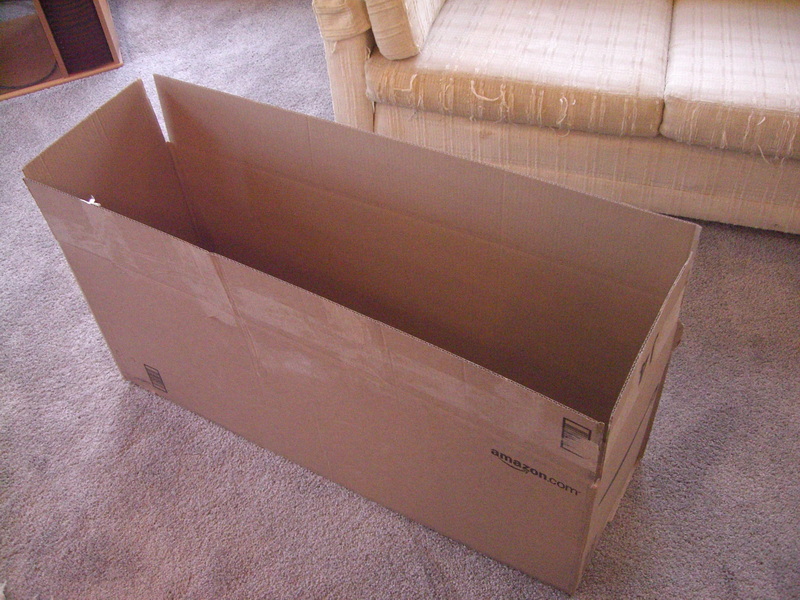
- Eco-Friendly Options: Reuse old cardboard boxes from deliveries by cutting them down and reshaping them according to your needs.
Conclusion
Making custom cardboard boxes is not only cost-effective but also allows for creativity in packaging solutions tailored specifically for individual needs. By following these steps—determining dimensions, sketching designs, cutting templates, scoring fold lines, assembling boxes, and adding personal touches—you can create sturdy and functional boxes suitable for various purposes.

Related Questions and Answers
1. What tools do I need to make custom cardboard boxes?
You will need basic tools such as a ruler or measuring tape, pencil or marker, box cutter or utility knife, scissors (optional), packing tape, and optionally a perforation tool for scoring lines.
2. Can I use recycled cardboard for making boxes?
Yes! Recycled cardboard is an excellent option for creating custom boxes as it is eco-friendly and often free if you have access to old packaging materials.
3. How do I determine the right size for my box?
Measure the length, width, and height of the item you want to package and add extra space (usually an inch) for padding materials like bubble wrap.
4. What type of tape should I use for sealing my boxes?
Packing tape is generally recommended due to its strong adhesive properties; however, duct tape can also be used if you need extra durability.
5. How can I make my custom boxes more durable?
To enhance durability, consider using double-walled cardboard instead of single-walled options and reinforce corners with additional tape or glue.
The total word count for this article is 1,011 words.
Citations:
[1] https://colwoodcraft.com/colwood-craft-blog/how-to-make-your-own-shipping-boxes
[2] https://www.instructables.com/Build-A-Cardboard-Box/
[3] https://www.youtube.com/watch?v=fPFAlwuw3bM
[4] https://www.youtube.com/watch?v=qqiQIfmWEuU


