Content Menu
● Materials Needed
● Step-by-Step Instructions
>> Step 1: Choose Your Paper
>> Step 2: Measure and Cut the Paper
>> Step 3: Fold the Paper
>> Step 4: Secure the Sides
>> Step 5: Create Handles (Optional)
>> Step 6: Decorate Your Bag
● Tips for Customization
● Advanced Techniques for Making Paper Bags
>> Creating Origami Bags
>> Adding Liners for Strength
>> Using Stencils for Unique Shapes
● Creative Uses for Paper Bags
● Environmental Benefits of Making Paper Bags
● Conclusion
● Related Questions
>> 1. What type of paper is best for making bags?
>> 2. Can I recycle old newspapers into bags?
>> 3. How do I make my paper bags stronger?
>> 4. What are some creative ways to decorate my paper bags?
>> 5. Can I make reusable paper bags?
Creating a paper bag is not only a fun and creative project but also an environmentally friendly alternative to plastic bags. Whether you need a gift bag, a shopping bag, or a decorative item for your home, making a paper bag can be a rewarding experience. This article will guide you through the process of making different types of paper bags, including materials needed, step-by-step instructions, and tips for customization.

Materials Needed
Before you start making your paper bag, gather the necessary materials. Here's what you will need:
- Paper: You can use craft paper, recycled paper, or even old newspapers. The thickness of the paper will determine the strength of your bag.
- Scissors: A good pair of scissors is essential for cutting the paper to the desired size.
- Glue or Tape: You will need adhesive to secure the sides and bottom of the bag.
- Ruler: A ruler will help you measure and create straight lines.
- Pencil: Use a pencil to mark measurements on the paper before cutting.
- Decorative Items (Optional): If you want to personalize your bag, consider using markers, stickers, or stamps.

Step-by-Step Instructions
Step 1: Choose Your Paper
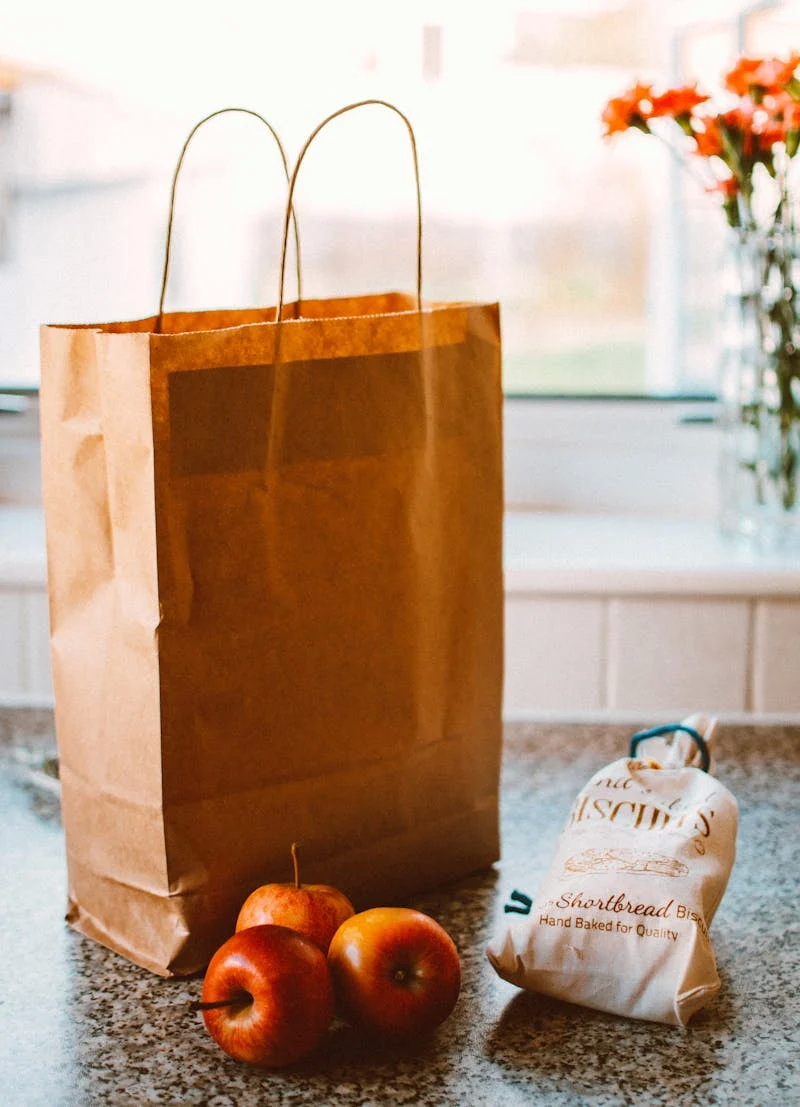
Select the type of paper you want to use for your bag. For a simple bag, brown kraft paper is a popular choice due to its durability and rustic look. If you're making a gift bag, consider using colorful or patterned paper to enhance its appearance. You can also explore using recycled materials such as old wrapping paper or cardboard from packaging.
Step 2: Measure and Cut the Paper
1. Determine the Size of Your Bag: Decide how large you want your bag to be. A common size for a gift bag is 10 inches tall by 8 inches wide with a depth of 4 inches.
2. Cut the Paper: Use your ruler and pencil to mark the dimensions on the paper. For example, if you want a bag that is 10 inches tall, 8 inches wide, and 4 inches deep, you will need to cut a piece of paper that measures 22 inches wide by 10 inches tall (the width includes two sides for depth). Cut along the lines with scissors.
Step 3: Fold the Paper
1. Create the Bottom Fold: Starting from one end of your cut paper, fold down about 2 inches. This will be the bottom of your bag.
2. Create Side Folds: Measure and fold in both sides towards the center so that they meet at the middle. Each side should be about 4 inches wide.
3. Forming the Bag Shape: After folding in the sides, fold up the bottom section (the part you folded down) to create the base of your bag.
Step 4: Secure the Sides
Use glue or tape to secure the folded sides together. Make sure that they are aligned properly so that your bag maintains its shape.
Step 5: Create Handles (Optional)
If you want handles for your bag:
1. Cut Strips of Paper: Cut two strips of paper about 1 inch wide and 12 inches long (or longer depending on how long you want your handles).
2. Attach Handles: Glue or tape each end of the strips inside the top edge of your bag on both sides.
Step 6: Decorate Your Bag
Now that your basic paper bag is complete, it's time to add some personal touches:
- Use markers or paints to draw designs on your bag.
- Attach stickers or stamps for added flair.
- Consider adding embellishments like ribbons or bows if it's a gift bag.
Tips for Customization
- Use Different Types of Paper: Experiment with different textures and colors. For example, using glossy magazine pages can create an eye-catching effect.
- Add Personal Messages: If you're making a gift bag, consider writing a personal note or message directly on the bag.
- Stencils and Patterns: Use stencils to create uniform designs or patterns on your bags.
- Layering Techniques: Try layering different types of papers for unique effects.
Advanced Techniques for Making Paper Bags
Once you've mastered basic paper bags, consider exploring advanced techniques that can enhance their functionality and aesthetics.
Creating Origami Bags
Origami bags are an excellent way to make unique designs without using glue or tape.
1. Start with a square piece of paper.
2. Fold it in half diagonally to form a triangle.
3. Fold down the top corners toward the center point.
4. Flip it over and tuck in any excess edges to form a pocket-like structure.
This technique allows for intricate designs that are perfect for special occasions.
Adding Liners for Strength
If you're using lightweight paper but want more durability:
1. Cut another piece of sturdy material like cardstock slightly smaller than your main piece.
2. Glue it inside as a liner before securing all folds and edges.
3. This not only adds strength but can also create an interesting visual contrast if you use colored liners.
Using Stencils for Unique Shapes
Stencils can help create unique shapes when cutting out your bags:
1. Choose shapes that fit your theme (e.g., hearts for Valentine's Day).
2. Place stencils on your paper and trace them with a pencil before cutting out.
3. This method allows you to create themed bags easily.
Creative Uses for Paper Bags
Paper bags can serve various purposes beyond just carrying items from one place to another:
- Gift Wrapping: Use decorated bags as an alternative wrapping method for gifts.
- Party Favors: Create small bags filled with goodies for party guests.
- Storage Solutions: Use larger bags as decorative storage options around your home.
- Art Projects: Repurpose old bags into art projects like collages or mixed media art pieces.
Environmental Benefits of Making Paper Bags
Making paper bags at home promotes sustainability by reducing reliance on plastic products which contribute significantly to environmental pollution:
- Biodegradable: Unlike plastic bags, paper bags decompose naturally over time without harming wildlife.
- Recyclable: Used paper bags can be recycled into new products, reducing waste in landfills.
- Encourages Reuse: Handmade bags often have more character and can encourage people to reuse them rather than discarding them after one use.
Conclusion
Making a paper bag is an enjoyable activity that allows for creativity while promoting sustainability. With just a few materials and some simple steps, anyone can create beautiful and functional bags suitable for various occasions. Whether you're crafting for personal use or as gifts for others, these handmade bags can add a personal touch that store-bought items often lack.
By following these instructions and tips, you can make various types of paper bags tailored to your needs. The process not only helps reduce waste but also encourages creativity and resourcefulness in crafting.

Related Questions
1. What type of paper is best for making bags?
The best type of paper depends on your intended use. Brown kraft paper is durable and great for shopping bags, while colorful craft paper works well for decorative gift bags.
2. Can I recycle old newspapers into bags?
Yes! Old newspapers can be recycled into unique bags. Just make sure they are clean and free from any food residue before using them.
3. How do I make my paper bags stronger?
To make your bags stronger, use thicker paper or reinforce areas where stress occurs (like handles) with additional layers or tape.
4. What are some creative ways to decorate my paper bags?
You can use stamps, stickers, washi tape, markers, or even fabric scraps to decorate your bags creatively.
5. Can I make reusable paper bags?
While traditional paper bags are not as durable as fabric ones, using thicker materials and reinforcing seams can allow them to be reused several times before recycling them again.


