Content Menu
● Introduction
>> Why Use Adobe InDesign?
● Step-by-Step Guide to Creating a Business Card in InDesign
>> Step 1: Setting Up Your Document
>> Step 2: Designing the Front of Your Business Card
>> Step 3: Designing the Back of Your Business Card
>> Step 4: Finalizing Your Design
>> Step 5: Exporting Your Business Card
● Conclusion
● Frequently Asked Questions
>> 1. What dimensions should my business card be?
>> 2. How do I add bleeds in InDesign?
>> 3. Can I use templates for my business card design?
>> 4. How can I ensure my text is readable on my business card?
>> 5. What file format should I use when exporting my business card?
>> 6. How do I ensure the colors on my printed business card match what I see on my screen?
>> 7. What are some creative ways to make my business card stand out?
>> 8. How do I handle version control for my business card design?
>> 9. What are the common mistakes to avoid when designing a business card?
>> 10. How can I optimize my business card design for different printing methods (e.g., digital printing, offset printing)?
● Citations:
Introduction
Creating a business card in Adobe InDesign is a straightforward yet creative process that allows you to design a professional representation of yourself or your business. Business cards are essential tools for networking, providing potential clients and partners with your contact information and a glimpse of your brand identity. This guide will walk you through the steps to create a business card in InDesign, from setting up your document to exporting the final design.

Why Use Adobe InDesign?
Adobe InDesign is a powerful desktop publishing software that offers extensive features for graphic design, making it an ideal choice for creating business cards. Its capabilities include precise layout control, advanced typography options, and the ability to handle images and graphics effectively. Whether you are designing a simple card or a more elaborate one, InDesign provides the tools needed for both beginners and experienced designers.
Step-by-Step Guide to Creating a Business Card in InDesign
Step 1: Setting Up Your Document
1. Open Adobe InDesign: Launch the application on your computer.
2. Create a New Document: Go to `File` > `New` > `Document`.
3. Configure Document Settings:
- Intent: Choose `Print`.
- Number of Pages: Set this to `2` (one for the front and one for the back).
- Page Size: Select `US Business Card` (3.5 inches x 2 inches).
- Margins: Set margins to `0.125 inches`.
- Bleed: Add a bleed of `0.125 inches` on all sides to ensure that colors and images extend to the edges without leaving white borders when cut.
Elaborating on Document Setup: When you create a new document in InDesign, the initial settings are crucial for ensuring the final printed product meets your expectations. The `Intent` option allows you to optimize the document for different outputs. Choosing `Print` ensures that your color mode is set to CMYK, which is ideal for printed materials. If you were designing for digital use, you would select `Web` instead.
Setting the correct `Page Size` is vital for the card's physical dimensions. InDesign provides preset sizes, including the standard `US Business Card` size of 3.5 x 2 inches. However, you can also create custom sizes if your design requires something different.
`Margins` are important because they define the space between your content and the edge of the card. Setting them to `0.125 inches` provides a safe area to prevent text and important design elements from being cut off during the trimming process.
The `Bleed` setting is equally important. Bleed ensures that any colors, images, or design elements that extend to the edge of your business card are printed without white borders. By setting the bleed to `0.125 inches` on all sides, you give the printer extra space to trim, guaranteeing a clean, edge-to-edge print.
Step 2: Designing the Front of Your Business Card
1. Add Background Color or Image:
- Use the Rectangle Tool (M) to draw a rectangle that covers the entire page.
- Fill it with your desired color or place an image by going to `File` > `Place`, selecting your image file, and positioning it appropriately.
2. Insert Text:
- Select the Type Tool (T) and click on the area where you want to add text.
- Type your name, job title, company name, and contact information.
- Adjust font size, style, and color using the Character panel.
3. Include Your Logo:
- If you have a logo, place it on the card by using `File` > `Place`, selecting your logo file, and positioning it on the card.
- Resize as necessary by holding down Shift while dragging a corner handle.
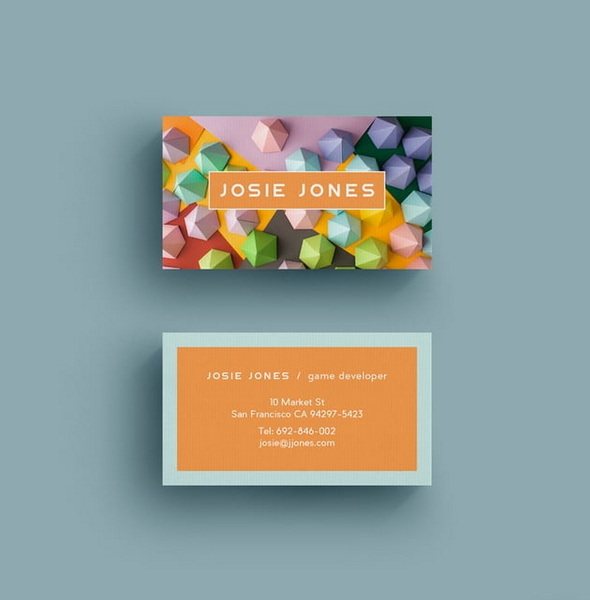
Elaborating on Front Design: The front of your business card is typically where you make your first impression. It should prominently feature your name and professional title. The company logo, if available, should be placed strategically to catch the eye without overwhelming the other elements.
When adding a background, consider the overall theme and branding of your company. Solid colors can be elegant and clean, while images can add depth and visual interest. Ensure that any background images are high-resolution to prevent pixelation when printed. You can adjust the opacity of the background to ensure the text remains readable.
Typography plays a crucial role in the design. Choose fonts that are easy to read and reflect your brand's personality. A good rule of thumb is to use no more than two different fonts on your business card to maintain a clean and professional look. Experiment with font sizes, weights, and colors to highlight the most important information.
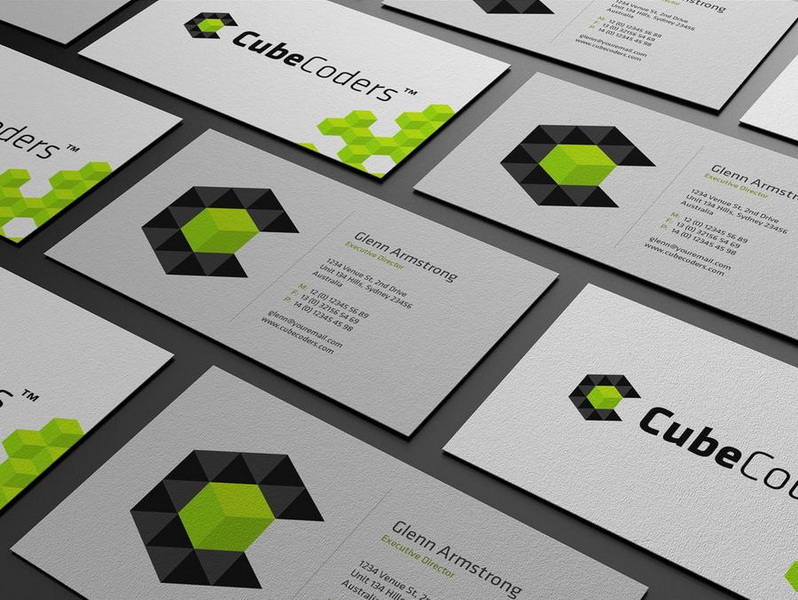
When placing your logo, consider its size and proportions relative to the other elements on the card. A logo that is too large can overshadow the text, while one that is too small may go unnoticed. Use InDesign's alignment tools to ensure your logo is perfectly aligned with the other elements.

Step 3: Designing the Back of Your Business Card
1. Repeat Background Setup: If you want a different design for the back, repeat the steps for adding background color or images.
2. Add Additional Information:
- You might want to include additional details such as social media handles, website URL, or a tagline.
- Use consistent typography styles from the front side for coherence.
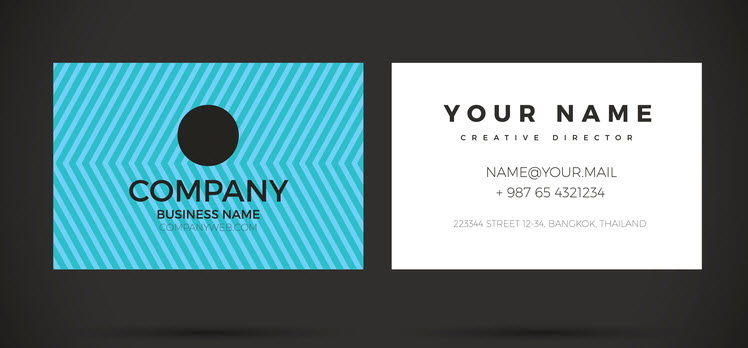
Elaborating on Back Design: The back of your business card provides an opportunity to include additional information without cluttering the front. This space can be used to list your company's website, social media handles, a brief tagline, or even a QR code that directs people to your online portfolio or contact information.
Consistency in design is key. Use the same fonts, colors, and overall style as the front of the card to create a cohesive look. However, you can experiment with different layouts and visual elements to make the back of the card visually appealing.
Consider using icons to represent different types of contact information, such as a phone icon for your phone number or a globe icon for your website. Icons can make the information easier to scan and add a visual element that breaks up the text.
If you're including a QR code, make sure it is properly sized and placed so that it is easily scannable. Test the QR code before printing to ensure it directs to the correct destination.
Step 4: Finalizing Your Design
1. Check Alignment and Spacing:
- Ensure all elements are properly aligned using guides or smart guides.
- Check that there is enough white space around text elements for readability.
2. Preview Your Design:
- Use `View` > `Screen Mode` > `Preview` to see how your card will look without guides and margins.
Elaborating on Final Touches: Before exporting your business card for printing, it is crucial to meticulously review the design to ensure everything is perfect. Pay close attention to alignment, spacing, and readability.
InDesign's built-in guides and smart guides are invaluable tools for aligning elements precisely. Use them to ensure that text, images, and logos are properly aligned with each other and with the edges of the card.
White space, also known as negative space, is an essential element of good design. It helps to create visual balance and makes the information on your card easier to read. Ensure that there is enough white space around text elements to prevent them from feeling cramped or cluttered.
Use the `Preview` mode to see how your card will look without the guides and margins. This will give you a clear idea of how the final printed product will appear. Pay attention to the overall balance and visual appeal of the design.
Consider conducting a proofread. Ask a colleague to review the content for typos or factual errors.
Step 5: Exporting Your Business Card
1. Save Your Document:
- Go to `File` > `Save As` to save your work in InDesign format (.indd).
2. Export for Printing:
- Navigate to `File` > `Export`.
- Choose PDF (Print) as your format.
- In the export settings, ensure you select “Use Document Bleed Settings” so that your design includes bleed areas.
3. Finalize PDF Settings:
- Set compatibility based on your printer's requirements (usually PDF/X-4 is standard).
- Click Export.
Elaborating on Exporting: The final step in the process is exporting your business card design as a PDF file for printing. This is a critical step, as the export settings can significantly impact the quality of the final printed product.
Saving your document in InDesign format (.indd) allows you to make future edits if necessary. It's always a good practice to save your work regularly to prevent data loss.
When exporting to PDF, make sure to choose the `PDF (Print)` format. This format is optimized for high-resolution printing and ensures that your design retains its quality.
In the export settings, the most important setting to consider is “Use Document Bleed Settings.” This ensures that the bleed area you set up earlier is included in the PDF file, preventing white borders around the edges of your card.
Set the compatibility settings based on your printer's requirements. PDF/X-4 is a common standard that ensures consistent color reproduction and font embedding. Check with your printer to confirm their preferred settings.
Once you have finalized the export settings, click `Export` to create the PDF file. Review the PDF file to ensure that everything looks correct before sending it to the printer.
Additional Design Tips:
- Color Palette: Limit your color palette to 2-3 colors that align with your brand.
- Font Choice: Select fonts that are easy to read and represent your brand's personality.
- Keep it Simple: Avoid overcrowding your card with too much information. Prioritize essential details.
- Consider Special Finishes: Explore options like spot UV, embossing, or foil stamping for a premium look.
Conclusion
Creating a business card in Adobe InDesign is an effective way to showcase your brand identity while providing essential contact information. By following these steps—setting up your document, designing both sides of the card, finalizing your layout, and exporting—you can produce a professional-quality business card that stands out in any networking situation.

Frequently Asked Questions
1. What dimensions should my business card be?
The standard dimensions for a US business card are 3.5 inches by 2 inches.
2. How do I add bleeds in InDesign?
When setting up your document, go to the Bleed section in the New Document dialog box and set all sides to 0.125 inches.
3. Can I use templates for my business card design?
Yes, Adobe InDesign offers various templates that can simplify the design process.
4. How can I ensure my text is readable on my business card?
Choose contrasting colors between text and background, use legible fonts, and avoid overcrowding with too much information.
5. What file format should I use when exporting my business card?
Export as PDF (Print) for high-quality prints while ensuring you select “Use Document Bleed Settings” during export.
6. How do I ensure the colors on my printed business card match what I see on my screen?
Color calibration is essential. Calibrate your monitor regularly and use CMYK color mode in InDesign. Also, request a proof from your printer before the full print run.
7. What are some creative ways to make my business card stand out?
Consider using unique materials (e.g., metal, wood, plastic), unusual shapes, or special finishes like embossing, spot UV, or foil stamping.
8. How do I handle version control for my business card design?
Save different versions of your InDesign file with descriptive names (e.g., "BusinessCard_v1.indd," "BusinessCard_v2.indd"). Use cloud storage or a version control system for collaboration.
9. What are the common mistakes to avoid when designing a business card?
Avoid using low-resolution images, overcrowding the card with too much information, using illegible fonts, and neglecting to include bleed.
10. How can I optimize my business card design for different printing methods (e.g., digital printing, offset printing)?
Consult with your printer about the specific requirements for each printing method. Digital printing is suitable for small quantities and personalized cards, while offset printing is more cost-effective for large runs.
Citations:
[1] https://www.instructables.com/How-to-Make-a-Business-Card-on-InDesign/
[2] https://redokun.com/blog/indesign-business-card-template
[3] https://www.reddit.com/r/indesign/comments/idaydu/first_time_designing_a_business_card_what_could/
[4] https://www.youtube.com/watch?v=oZRjRu6xz24
[5] https://business.tutsplus.com/tutorials/how-to-create-a-great-business-card-in-10-steps--cms-29303
[6] https://www.adobe.com/express/templates/business-card
[7] https://helpx.adobe.com/ph_fil/indesign/how-to/business-card-design.html
[8] https://redokun.com/blog/how-to-make-a-business-card-in-indesign
[9] https://www.youtube.com/watch?v=OZUhMYHCFQU
[10] https://www.youtube.com/watch?v=j29nZ5J4joU


