Content Menu
● Planning Your Photo Book
>> Define the Purpose
>> Choose a Theme
>> Select Your Photos
● Organizing Your Photos
>> Create Folders
>> Edit Your Photos
● Choosing the Right Photo Book Service
>> Compare Services
>> Consider Printing Options
● Designing Your Photo Book
>> Choose a Layout
>> Add Text
>> Use Backgrounds and Colors
● Finalizing Your Photo Book
>> Proofread Your Text
>> Review Layouts
>> Order a Proof Copy
● Printing Your Photo Book
>> Select Print Quality
>> Choose Quantity
● Sharing Your Photo Book
>> Host a Reveal Party
>> Share Digitally
● Conclusion
● Related Questions
>> 1. What is the best size for a photo book?
>> 2. How many photos should I include in my photo book?
>> 3. Can I create a digital version of my photo book?
>> 4. How do I choose between hardcover and softcover?
>> 5. What software can I use to edit my photos before creating my photo book?
Creating a photo book is a wonderful way to preserve memories, tell stories, and showcase your photography. Whether you want to document a special event, create a gift for someone, or simply compile your favorite images, making a photo book can be a rewarding project. In this comprehensive guide, we will explore the steps involved in making a photo book, from planning and design to printing and sharing.

Planning Your Photo Book
The first step in creating a photo book is planning. This involves deciding on the purpose of the book, the theme, and the photos you want to include.
Define the Purpose
Consider why you want to create the photo book. Is it for a wedding, vacation, family reunion, or a personal project? Understanding the purpose will help guide your selection of photos and design choices.
Choose a Theme
Once you have defined the purpose, choose a theme that complements it. A theme could be based on color schemes, specific events, or even a chronological order of events. This will help create cohesion throughout the book.
Select Your Photos
Go through your collection of photos and select images that fit your theme and purpose. Aim for variety; include close-ups, landscapes, candid shots, and posed pictures to keep the viewer engaged. It's advisable to choose more photos than you think you'll need; you can always narrow them down later.
Organizing Your Photos
After selecting your photos, it's time to organize them effectively. This step is crucial for ensuring that your photo book flows well.
Create Folders
Organize your selected photos into folders based on categories such as events, dates, or themes. This will make it easier to locate specific images when you start designing your book.
Edit Your Photos
Consider editing your photos to enhance their quality. You can use software like Adobe Lightroom or Photoshop for adjustments such as brightness, contrast, cropping, and color correction. Consistent editing styles across your images can also contribute to a unified look in your photo book.
Choosing the Right Photo Book Service
With your photos organized and edited, it's time to choose a photo book service that suits your needs. There are many options available online.
Compare Services
Research various photo book services to compare pricing, quality, customization options, and user reviews. Some popular services include Shutterfly, Mixbook, Blurb, and Snapfish. Each service has its unique features and templates.
Consider Printing Options
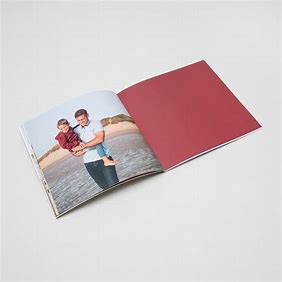
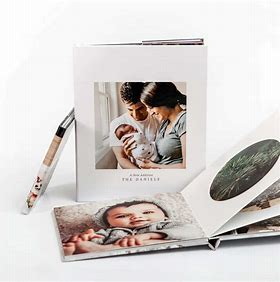
Look into different printing options offered by each service. Some may provide hardcover books while others offer softcover or lay-flat options. The choice depends on your budget and how you envision the final product.

Designing Your Photo Book
Designing your photo book is where creativity comes into play. Most photo book services offer user-friendly design tools that allow you to customize layouts and backgrounds.
Choose a Layout
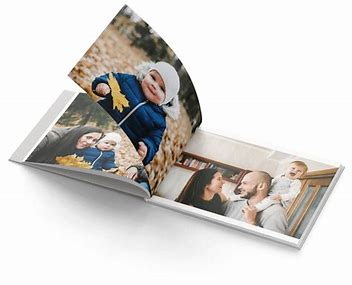
Select a layout that complements your theme and allows for easy viewing of images. You can opt for full-page spreads for impactful images or smaller collages for multiple pictures on one page.
Add Text
Consider adding captions or short descriptions to provide context for each image. This can enhance storytelling and help viewers understand the significance of certain photos.
Use Backgrounds and Colors
Incorporate backgrounds and colors that align with your theme. Subtle patterns or solid colors can make your images pop without overwhelming them.
Finalizing Your Photo Book
Once you have designed your photo book, it's time to review and finalize it before printing.
Proofread Your Text
Check all text for spelling or grammatical errors. Ensure that captions are clear and concise.
Review Layouts
Go through each page carefully to ensure that images are properly aligned and that there are no blank spaces unless intentionally left for design purposes.
Order a Proof Copy
If available, consider ordering a proof copy of your photo book before placing a full order. This allows you to see how the final product will look and make any necessary adjustments.
Printing Your Photo Book
After finalizing the design of your photo book, it's time to place an order for printing.
Select Print Quality
Choose the print quality based on your budget and desired outcome. Higher quality prints may cost more but can significantly enhance the overall look of your photo book.
Choose Quantity
Decide how many copies of the photo book you want to order. If it's a gift or keepsake for family members or friends, consider ordering multiple copies.
Sharing Your Photo Book
Once printed, think about how you want to share your photo book with others.
Host a Reveal Party
If it's for an event like a wedding or family reunion, consider hosting a reveal party where you can share the photo book with guests in person.
Share Digitally
Many services offer digital versions of your photo book that you can share online with friends and family who may not be able to see the physical copy.
Conclusion
Creating a photo book is an enjoyable process that allows you to capture memories in an artistic way. By following these steps—from planning and organizing photos to designing and printing—you can create a beautiful keepsake that tells your story for years to come.

Related Questions
1. What is the best size for a photo book?
The best size for a photo book depends on personal preference and intended use. Common sizes range from 8x8 inches for smaller keepsakes to 12x12 inches for larger coffee table books.
2. How many photos should I include in my photo book?
There is no strict rule regarding the number of photos; however, aim for around 20-50 pages with 1-5 photos per page depending on layout preferences.
3. Can I create a digital version of my photo book?
Yes! Many photo book services offer digital versions that can be shared online or viewed on devices alongside printed copies.
4. How do I choose between hardcover and softcover?
Hardcover books are more durable and have a premium feel but are typically more expensive than softcover options which are lighter and easier to store.
5. What software can I use to edit my photos before creating my photo book?
Popular software options include Adobe Lightroom, Photoshop, Canva, or free alternatives like GIMP which allow for various editing capabilities tailored to enhance image quality before printing.


