Content Menu
● Introduction
● Understanding Business Card Basics
● Step-by-Step Guide to Printing Business Cards in Word
>> Open Microsoft Word
>> Select a Business Card Template
>> Customize Your Template
>> Adjust Margins and Layout
>> Create a Table for Multiple Cards
>> Fill in Your Information
>> Format Your Business Cards
>> Preview Before Printing
>> Print Your Business Cards
>> Cut Out Your Cards
● Advanced Tips for Business Card Design in Word
>> Working with Shapes and Graphics
>> Choosing the Right Colors
>> Optimizing for Mobile Viewing
>> Double-Sided Business Cards
>> Using High-Quality Card Stock
● Tips for Effective Business Card Design
● Conclusion
● Related Questions
>> 1. What are some common mistakes when designing business cards?
>> 2. Can I print business cards at home?
>> 3. How do I ensure my business card stands out?
>> 4. What size should my business card be?
>> 5. Are there free templates available for business cards?
>> 6. How do I choose the right font for my business card?
>> 7. What is the best paper weight for business cards?
>> 8. How do I add a QR code to my business card in Word?
>> 9. Should I include my job title on my business card?
>> 10. How many business cards should I print at a time?
● Citations:
Introduction
Creating business cards is an essential task for professionals looking to establish their brand identity and network effectively. A well-designed business card can leave a lasting impression, making it easier for people to remember you and your services. Microsoft Word provides a user-friendly platform for designing and printing business cards, making it accessible for anyone, regardless of design experience. This article will guide you through the entire process of creating business cards in Word, from selecting templates to printing your final product, ensuring you have a professional tool to represent your brand.

Understanding Business Card Basics
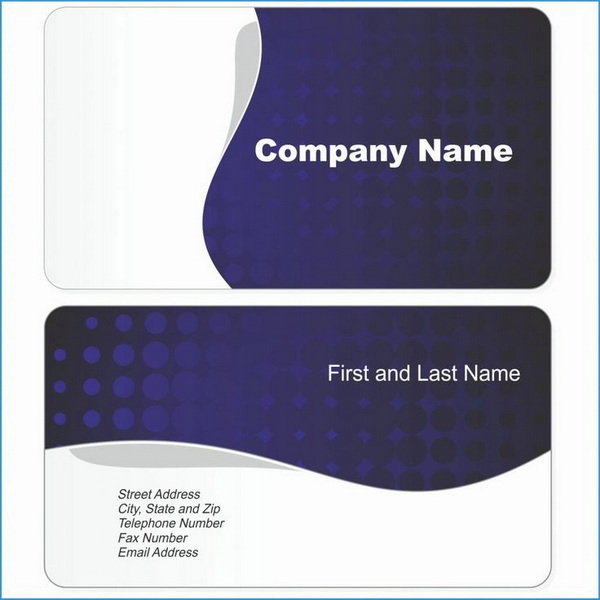
Before diving into the practical steps, it's crucial to understand what a business card is and its significance. A business card typically includes essential information such as:
- Name: Your name or your company's name.
- Contact Information: Phone number, email address, and possibly your website and social media handles.
- Logo: A visual representation of your brand.
- Tagline: A brief statement that summarizes your professional identity or services.
The design of a business card should reflect your personal or company brand while ensuring that the information is clear and accessible. The card serves as a mini-advertisement, so it needs to be visually appealing and easy to understand.
Step-by-Step Guide to Printing Business Cards in Word
Open Microsoft Word
To start, open Microsoft Word on your computer. You can use any version of Word that supports templates, including Word 2010, 2013, 2016, and later versions. Ensure your software is updated to leverage the latest features and templates.
Select a Business Card Template
Using a template can significantly simplify the design process, especially if you're not a graphic designer. Follow these steps:
- Click on File in the top left corner.
- Select New from the menu.
- In the search bar, type "Business Card" and hit Enter.
- Browse through the available templates. Choose one that fits your style and click on it to preview. Consider aspects like color scheme, layout, and overall aesthetic to align with your brand.
Customize Your Template
Once you have selected a template, it's time to personalize it. Customization is where your unique brand identity comes to life:
- Insert Your Logo: Click on the placeholder image in the template and select "Insert" from the top menu to add your logo. Ensure your logo is high resolution to avoid pixelation.
- Edit Text: Click on the text areas to enter your name, contact information, tagline, etc. You can change font styles and colors by highlighting the text and using the formatting options in the toolbar. Choose fonts that are legible and reflect your brand's tone.
- Add Social Media Icons: If your business has a strong social media presence, consider adding icons with your handles. This increases connectivity and engagement.
Adjust Margins and Layout
To ensure that your cards print correctly and look professionally aligned:
- Go to the Page Layout tab.
- Click on Margins and select Custom Margins.
- Set appropriate margins (e.g., 0.5 inches) to maximize space without cutting off information during printing. Experiment with margin sizes to see what looks best for your design.
Create a Table for Multiple Cards
If you prefer to create your own layout instead of using a template, this method gives you more control over the arrangement:
1. Open a new document.
2. Click on Insert, then select Table.
3. Choose a 2x5 table layout to fit ten business cards per page. This is a standard arrangement that maximizes paper usage.
4. Adjust table properties by right-clicking on the table and selecting Table Properties:
- Set row height to 2 inches.
- Set column width to 3.5 inches.
- Ensure the table borders are set to 'none' or a very light color for a clean look.
Fill in Your Information
In each cell of the table, input your personalized information just as you would in a template:
- Name
- Contact details
- Logo
- Tagline
Ensure consistency of information across all cells to maintain uniformity.
Format Your Business Cards
Ensure that all text is readable and visually appealing:
- Use consistent font sizes and styles across all cards. Stick to one or two font families for a cohesive look.
- Center-align text for a clean look, or experiment with left or right alignment depending on your design.
- Consider adding background colors or borders for emphasis. Ensure colors complement your logo and overall brand aesthetic.
Preview Before Printing
Before printing, it's wise to do a final check. This can save you from wasting paper and ink due to errors:
- Use the print preview feature (File > Print) to see how your cards will look when printed.
- Ensure no text is too close to the edges. Adjust margins or text size if necessary.
- Check for any typos or errors in contact information.
Print Your Business Cards
When you are satisfied with your design:
1. Go back to File, then select Print.
2. Choose your printer settings (make sure it supports card stock). Selecting the right paper type in your printer settings ensures the ink adheres properly.
3. Select "Print on Both Sides" if applicable, depending on your design. If you have information on the back of your card, this is crucial.
Cut Out Your Cards
After printing, carefully cut out each card using scissors or a paper cutter for clean edges. A paper cutter provides the most professional finish.

Advanced Tips for Business Card Design in Word
Working with Shapes and Graphics
Word allows you to insert various shapes and graphics to enhance your design.
- Inserting Shapes: Go to the "Insert" tab and select "Shapes." Choose from a variety of options like lines, rectangles, and circles to add visual elements to your card.
- Adding Text Boxes: Use text boxes to position text independently from the main layout. This gives you more control over text placement.
- Layering: Bring elements forward or send them backward to create depth in your design. Right-click on an element and select "Bring to Front" or "Send to Back."
Choosing the Right Colors
Color plays a crucial role in business card design.
- Brand Colors: Use colors that are consistent with your brand identity.
- Color Harmony: Use a color palette generator to find colors that complement each other.
- Contrast: Ensure there is enough contrast between text and background colors for readability.
Optimizing for Mobile Viewing
In the digital age, some people may view your business card on their phones.
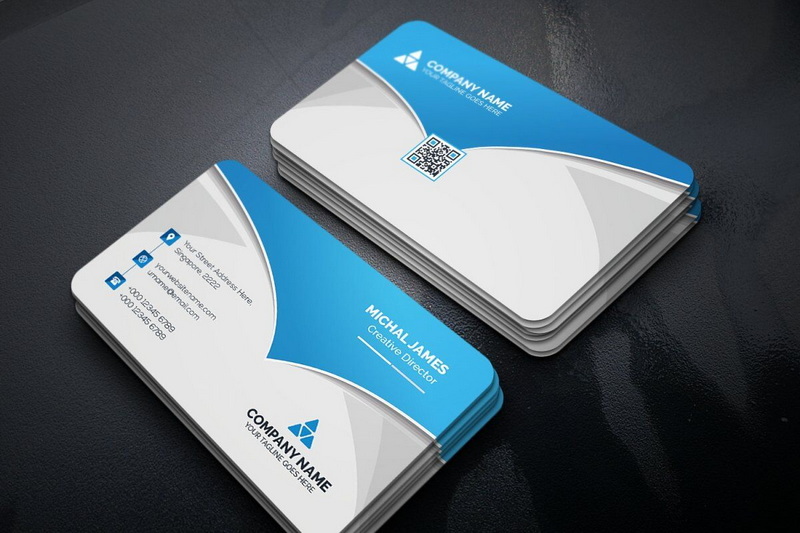
- QR Codes: Add a QR code that links to your website or LinkedIn profile for easy access.
- Minimalist Design: A clean and simple design translates well to smaller screens.
Double-Sided Business Cards
Consider printing on both sides to maximize space and create a more engaging design.
- Back Side Design: Use the back side for a tagline, list of services, or a compelling image.
- Call to Action: Include a call to action on the back, such as "Visit our website" or "Follow us on social media."
Using High-Quality Card Stock
The type of paper you use can significantly impact the perceived quality of your business card.
- Weight: Choose a card stock with a weight of at least 80 lb.
- Finish: Options include matte, glossy, and textured finishes. Choose a finish that complements your design.
Tips for Effective Business Card Design
1. Keep It Simple: Avoid cluttering your card with too much information. Focus on essential details and use white space effectively.
2. Use High-Quality Images: Ensure that logos and images are high resolution for professional appearance. Blurry or pixelated images can make your card look unprofessional.
3. Consistent Branding: Use colors and fonts that align with your overall brand identity. This helps reinforce brand recognition.
4. Proofread: Double-check all contact details for accuracy before printing. Typos or incorrect information can undermine your credibility.
5. Consider a Unique Shape or Finish: Explore options like rounded corners or special finishes (e.g., spot UV) to make your card stand out.
Conclusion
Creating business cards in Microsoft Word is an efficient and cost-effective way to produce professional-looking cards without needing advanced design skills or expensive software. By following these steps—choosing a template or creating from scratch, customizing content, adjusting layout settings, and finally printing—you can create effective business cards that represent you or your brand well. Remember that your business card is often the first impression you make, so it's worth investing time and effort into designing a card that accurately reflects your brand and values.

Related Questions
1. What are some common mistakes when designing business cards?
Common mistakes include overcrowding information, using low-quality images, neglecting proofreading, not aligning design with brand identity, and using illegible fonts.
2. Can I print business cards at home?
Yes, you can print business cards at home using suitable card stock paper and a printer that supports it. Ensure your printer settings are optimized for the paper type to achieve the best results.
3. How do I ensure my business card stands out?
Use unique designs, high-quality materials, and ensure that essential information is easy to read while reflecting your brand's personality. Consider adding a unique texture or finish to make your card more memorable.
4. What size should my business card be?
The standard size for business cards is typically 3.5 x 2 inches (90 x 51 mm). However, you can also explore non-standard sizes to make your card stand out.
5. Are there free templates available for business cards?
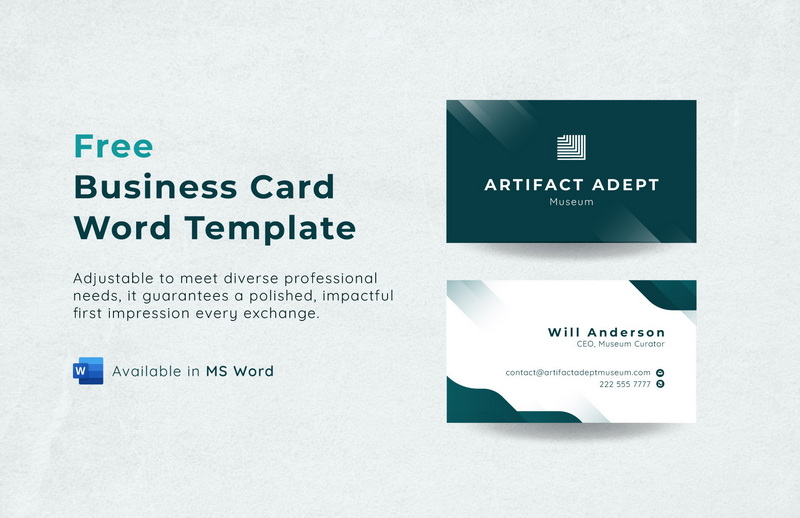
Yes, Microsoft Word offers various free templates online that you can customize according to your needs. Additionally, many websites offer free business card templates that are compatible with Word.
6. How do I choose the right font for my business card?
Choose a font that is legible and reflects your brand's personality. Avoid overly decorative or script fonts that can be difficult to read.
7. What is the best paper weight for business cards?
The best paper weight for business cards is typically between 80 lb and 100 lb cover stock. This provides a sturdy and professional feel.
8. How do I add a QR code to my business card in Word?
You can add a QR code by generating one online and then inserting it as an image in your Word document. There are many free QR code generators available online.
9. Should I include my job title on my business card?
Including your job title can provide context and credibility. However, if your job title is lengthy or unclear, consider omitting it.
10. How many business cards should I print at a time?
Print enough business cards to last you for several months, but avoid printing too many in case your contact information changes.
Citations:
1. https://www.wps.com/academy/how-to-print-business-cards-in-word-quick-tutorials-1863449/
2. https://elements.envato.com/learn/free-microsoft-word-business-card-templates
3. https://www.thebricks.com/resources/how-to-print-business-cards-in-word
4. https://www.indeed.com/career-advice/career-development/how-to-make-business-cards-in-word
5. https://create.microsoft.com/en-us/templates/business-cards
6. https://www.cnblogs.com/apachecn/p/18463815
7. https://www.youtube.com/watch?v=tkqAemcu1jE
8. https://support.microsoft.com/en-us/office/label-and-business-card-templates-for-word-and-publisher-6b774b64-860a-49e7-b8ea-ffc08216f0b3
9. https://www.youtube.com/watch?v=3qp9yk8yC3w


