Content Menu
● Introduction
● Getting Started with Adobe InDesign
>> Setting Up Your Document
>> Understanding Bleed and Trim
● Designing Your Business Card
>> Adding Text
>> Incorporating Images
>> Design Principles
>> Choosing Color Schemes
● Finalizing Your Design
>> Proofing Your Design
>> Getting Feedback
>> Exporting Your Business Card
● Tips for Effective Business Card Design
>> Use Quality Materials
>> Test Print
>> Stay Consistent with Branding
>> Consider Unique Shapes or Cuts
● Printing Your Business Cards
>> Choosing a Printing Service
>> Online vs Local Printing Services
>> Understanding Printing Costs
● Conclusion
● Related Questions
>> 1. What size should I make my business card?
>> 2. Can I use templates in InDesign?
>> 3. What resolution should images be for printing?
>> 4. How do I ensure my text is legible?
>> 5. What should I include on my business card?
● Citations:
Introduction
Creating a business card in Adobe InDesign is a straightforward yet creative process that allows professionals to present their contact information and branding effectively. A well-designed business card not only serves as a tool for networking but also reflects the personality of the individual or the brand it represents. In this comprehensive guide, we will explore the steps to create a business card in InDesign, discuss design principles, and provide tips for ensuring your card stands out.

Getting Started with Adobe InDesign
Before diving into the design process, it's essential to have Adobe InDesign installed on your computer. If you don't have it yet, Adobe offers a free trial of their Creative Cloud suite, which includes InDesign. Once you have the software ready, follow these steps to create your business card.
Setting Up Your Document
1. Open InDesign: Launch Adobe InDesign on your computer.
2. Create a New Document: Go to `File > New > Document`.
3. Document Settings:
- Intent: Set to `Print`.
- Number of Pages: Set to `1`.
- Facing Pages: Uncheck this option.
- Page Size: Choose `US Business Card` from the menu or set the dimensions manually to 3.5 inches wide by 2 inches high.
- Margins and Bleed: Set margins to 0.1875 inches and bleed to 0.125 inches on all sides.
4. Click `OK` to create your document.
Understanding Bleed and Trim
Understanding bleed and trim is crucial for printing business cards.
- Bleed refers to the area that extends beyond the trim edge of your card. It ensures that when the card is cut, there are no white edges visible.
- Trim is where the card will be cut down to its final size, which means everything within this area must be designed carefully.
Setting up bleed in your document helps avoid any misalignment during printing.
Designing Your Business Card
With your document set up, it's time to start designing your card. This involves adding text, images, and other design elements that represent you or your business.
Adding Text
1. Text Tool: Select the `Text Tool` (T) from the toolbar.
2. Create Text Boxes: Click and drag to create text boxes for different pieces of information such as:
- Your name
- Job title
- Company name
- Contact information (phone number, email address, website)
3. Font Selection: Choose fonts that are easy to read and reflect your brand's personality. Ensure that the font size is appropriate; typically, no smaller than 7pt for legibility.
Incorporating Images
1. Insert Logo: To add a logo, go to `File > Place`, select your logo file, and click `Open`. Click on the document where you want to place the logo.
2. Resize Image: Hold down `Ctrl + Shift` (Windows) or `Command + Shift` (Mac) while dragging a corner handle of the image to resize it proportionally.
Design Principles
When designing your business card, consider these principles:
- Hierarchy: Organize information by importance; your name should be more prominent than other details.
- White Space: Use white space effectively to avoid clutter and enhance readability.
- Color Scheme: Choose colors that align with your brand identity while ensuring good contrast for readability.
- Alignment and Balance: Make sure that text and images are aligned properly for a balanced look.
Choosing Color Schemes
Color plays a vital role in branding and can evoke emotions or convey messages about your business:
- Monochromatic Schemes: Use varying shades of one color for a subtle effect.
- Complementary Colors: Pair colors that are opposite each other on the color wheel for high contrast.
- Analogous Colors: Use colors next to each other on the color wheel for harmony.
Consider using online tools like Adobe Color Wheel or Coolors.co to experiment with different color combinations.

Finalizing Your Design
Once you have added all necessary elements and are satisfied with the layout, it's time to prepare for printing.
Proofing Your Design
Before exporting, proofread all text for errors and ensure that all elements are aligned correctly within the margins.
Getting Feedback
Before finalizing your design, consider seeking feedback from peers or colleagues:
- Ask them about their first impressions.
- Check if they find all information clear and easy to read.
- Get suggestions on improvements or adjustments.
Exporting Your Business Card
To export your design for printing:
1. Go to `File > Export`.
2. Choose a file format (PDF is recommended for printing).
3. In the export settings:
- Select `Adobe PDF (Print)`.
- Ensure that under `Marks and Bleeds`, crop marks are selected and that you use document settings for bleeds.
4. Click `Export`.
Tips for Effective Business Card Design
Creating an effective business card involves more than just aesthetics; here are some additional tips:
Use Quality Materials
Consider using high-quality cardstock for printing:
- A thicker cardstock gives a more professional feel.
- Matte finishes can provide an elegant look while glossy finishes can make colors pop.
Test Print
Always print a proof version before finalizing your order:
- Check colors against what you see on screen versus printed output.
- Ensure all text is legible and images are clear.
Stay Consistent with Branding
Ensure that your business card reflects your overall branding strategy in terms of colors, fonts, and imagery:
- Use elements from your website or marketing materials.
- Maintain consistency across all platforms to strengthen brand recognition.
Consider Unique Shapes or Cuts
While standard rectangular cards are common, think about unique shapes or custom cuts:
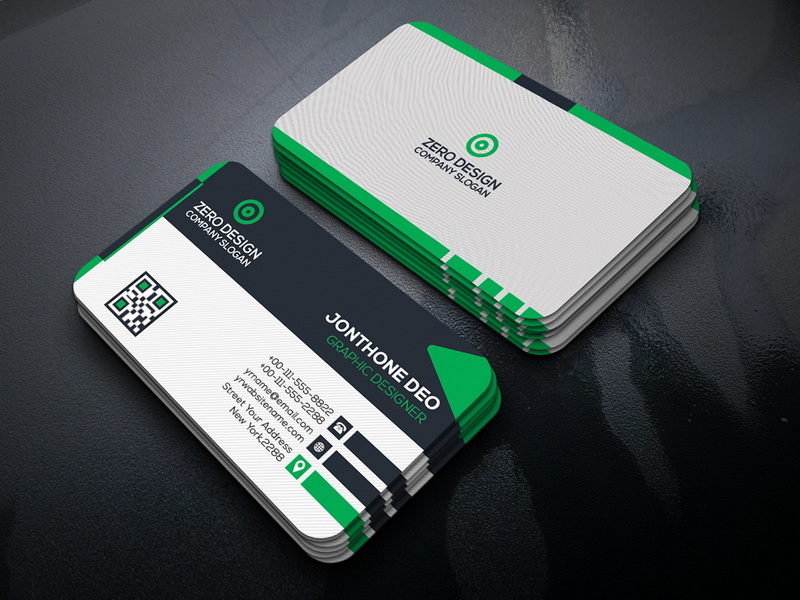
- Rounded corners can soften the look of your card.
- Die-cut designs can create memorable shapes that stand out in a stack.
Printing Your Business Cards
Once you've finalized your design, it's time to print:
Choosing a Printing Service
Select a reputable printing service:
- Look for reviews or recommendations from others who have used their services.
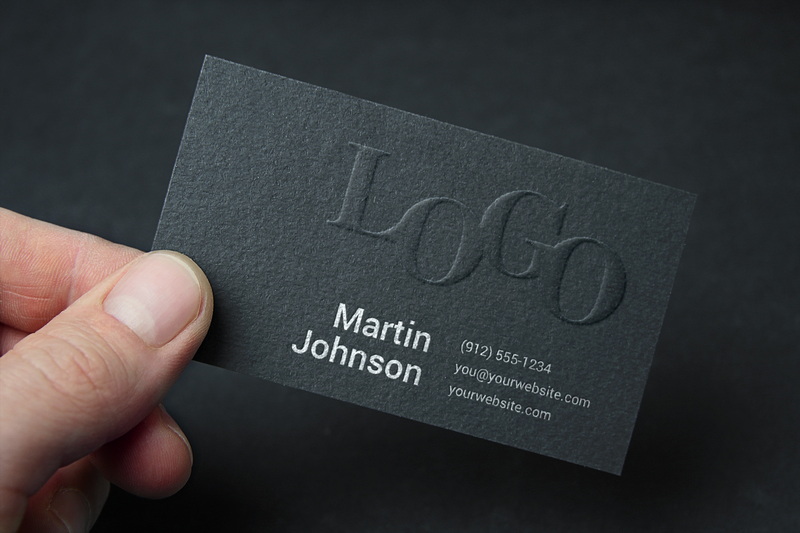
- Check if they offer options like UV coating or embossing for added effects.
Online vs Local Printing Services
Decide whether you want to use an online printing service or a local print shop:
- Online services often provide competitive pricing but may take longer for shipping.
- Local shops allow you to see samples in person but might be pricier.
Understanding Printing Costs
Get quotes from multiple services before deciding:
- Prices can vary based on quantity, paper type, finish options, and additional features like foil stamping or embossing.
Conclusion
Creating a business card in Adobe InDesign is a rewarding experience that combines creativity with practicality. By following the steps outlined in this guide, you can design a professional-looking business card that effectively communicates who you are and what you do while reflecting your personal style or brand identity.
A well-designed business card can leave a lasting impression on potential clients or collaborators, making it an essential tool in any professional's toolkit.

Related Questions
1. What size should I make my business card?
The standard size for a US business card is 3.5 inches by 2 inches.
2. Can I use templates in InDesign?
Yes, there are many free templates available online that can simplify the design process.
3. What resolution should images be for printing?
Images should be at least 300 DPI (dots per inch) for high-quality printing.
4. How do I ensure my text is legible?
Use clear fonts with appropriate sizes (no smaller than 7pt) and maintain good contrast with the background.
5. What should I include on my business card?
Include essential information such as your name, job title, company name, contact number, email address, and website.
Citations:
[1] https://www.instructables.com/How-to-Make-a-Business-Card-on-InDesign/
[2] https://redokun.com/blog/indesign-business-card-template
[3] https://creativemarket.com/blog/10-commandments-of-business-card-design
[4] https://www.youtube.com/watch?v=jtuIFYnw-UE
[5] https://business.tutsplus.com/tutorials/how-to-create-a-great-business-card-in-10-steps--cms-29303
[6] https://www.indesignskills.com/templates/business-card/
[7] https://www.indeed.com/career-advice/career-development/business-card-tips
[8] https://helpx.adobe.com/ph_fil/indesign/how-to/business-card-design.html
[9] https://redokun.com/blog/how-to-make-a-business-card-in-indesign
[10] https://www.rogueprintandmail.com.au/how-to-set-up-a-business-card-for-print-in-indesign/


