Content Menu
● Understanding the Importance of Business Cards
● Setting Up Your Document
● Adding Guides for Bleed and Safe Zones
● Designing Your Business Card
● Saving Your Work
● Preparing for Print
● Tips for Effective Business Card Design
● Creating Double-Sided Business Cards
● Conclusion
● Related Questions
>> 1. What are the standard dimensions for a business card?
>> 2. Why is CMYK preferred over RGB for printing?
>> 3. How can I ensure my text doesn't get cut off during printing?
>> 4. What file formats are best for saving print-ready business cards?
>> 5. Can I use templates in Photoshop for my business card design?
● Citations:
Creating a business card in Adobe Photoshop can be a rewarding experience, allowing you to express your brand's identity creatively. This guide will walk you through the entire process, from setting up your document to finalizing your design for print.

Understanding the Importance of Business Cards
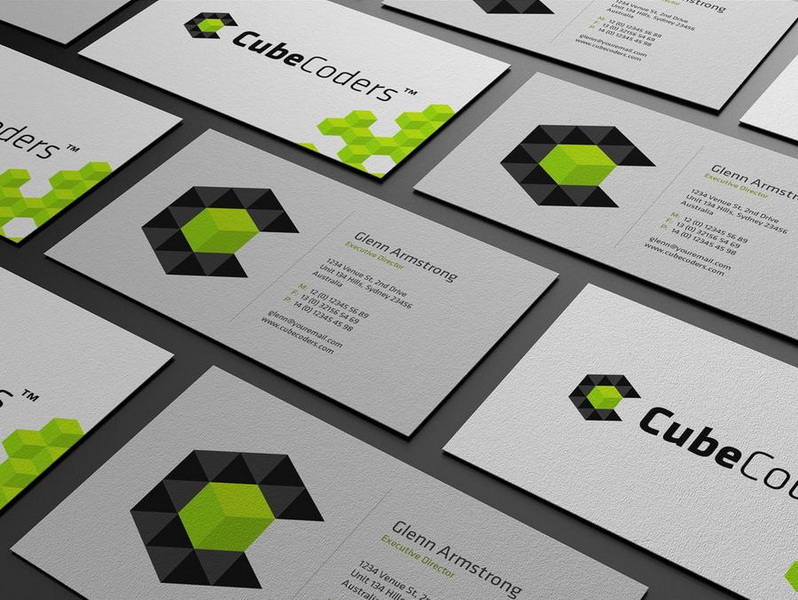
Business cards serve as a physical representation of your brand. They are often the first impression potential clients or partners have of you. A well-designed business card can convey professionalism and attention to detail, making it essential to invest time into creating one that stands out.
Setting Up Your Document
To begin designing your business card, you'll need to set up a new document in Photoshop. Follow these steps:
1. Open Photoshop: Launch the application and select `File > New`.
2. Document Size: Set the dimensions for your business card. The standard size is 3.5 inches by 2 inches, but for print purposes, you should include bleed areas:
- Width: 3.75 inches
- Height: 2.25 inches
This additional space accounts for cutting errors during printing.
3. Resolution and Color Mode:
- Set the resolution to 300 DPI (dots per inch) for high-quality prints.
- Choose CMYK color mode, which is ideal for print projects.
4. Background Color: You can start with a white background or any color that fits your design concept.
5. Create the Document: Click `OK` to create your new document.
Adding Guides for Bleed and Safe Zones
To ensure that important elements of your design are not cut off during printing, you need to add guides:
1. Show Rulers: Go to `View > Rulers` or press `Ctrl + R` (Windows) / `Cmd + R` (Mac).
2. Add Guides:
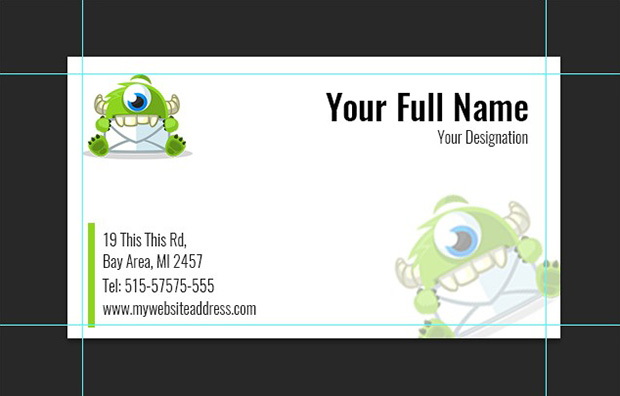
- Drag guides from the rulers to create a bleed area of 1/8 inch (0.125 inches) on all sides.
- This means setting guides at:
- Top: 0.125 inches
- Bottom: 2.125 inches
- Left: 0.125 inches
- Right: 3.625 inches
3. Create a Safe Zone: To avoid cutting off text or images, create an inner margin (safe zone) inside the trim area, typically another 1/8 inch from the trim line.
Designing Your Business Card
Now comes the creative part! Here's how to design your card:
1. Background Design:
- Use solid colors, gradients, or images as backgrounds.
- To add an image, drag it into your document and resize it as necessary.
2. Adding Text:
- Select the Text Tool (T) and click on the canvas to add text.
- Input your name, title, company name, phone number, email address, and website.
- Use the Character panel to adjust font style, size, and color.
3. Incorporating Graphics:
- You can add logos or custom graphics by dragging them into your workspace.
- Make sure they fit well within the safe zone.
4. Layer Management:
- Organize different elements on separate layers for easier editing.
- Use Layer Styles (double-click on layers) to add effects like shadows or strokes.
5. Final Touches:
- Review your design for alignment and spacing.
- Ensure all important information is within the safe zone and visually appealing.

Saving Your Work
It's crucial to save your work regularly:
1. Save as PSD: Click `File > Save As` and choose `.PSD` format to keep all layers intact for future edits.
2. Exporting for Print:
- Once satisfied with your design, flatten the image by going to `Layer > Flatten Image`.
- Save again using `File > Save As`, but this time choose `.TIF` or `.PDF` format for printing.
- Name it appropriately (e.g., "BusinessCard_PRINT").
Preparing for Print
Before sending your business card to print:
1. Check Color Accuracy: Make sure colors look good in CMYK mode since they may appear differently in RGB mode on screens.
2. Export Settings: If exporting as PDF:
- Ensure you select "High Quality Print" settings.
- Include crop marks if required by your printer.
3. Test Print: Consider printing a test card on regular paper to check layout and design before final printing.
Tips for Effective Business Card Design
To ensure that your business card is not only visually appealing but also effective in conveying information, consider the following tips:
- Simplicity is Key: Avoid cluttering your card with too much information or overly complex designs.
- Consistent Branding: Use colors and fonts that align with your brand identity to create a cohesive look across all marketing materials.
- Readable Fonts: Choose fonts that are easy to read at small sizes; avoid overly decorative fonts that might confuse readers.
- Use High-Quality Images: If incorporating images or logos, ensure they are high resolution (at least 300 DPI) so they do not appear pixelated when printed.
- Include Essential Information Only: Focus on key contact details like name, phone number, email address, and website; consider including social media handles if relevant.
Creating Double-Sided Business Cards
If you're considering a double-sided business card:
1. Design Front and Back Separately: Create two separate files or layers within the same document for each side of the card.
2. Maintain Consistency: Ensure that both sides complement each other in terms of design elements like color scheme and font choices.
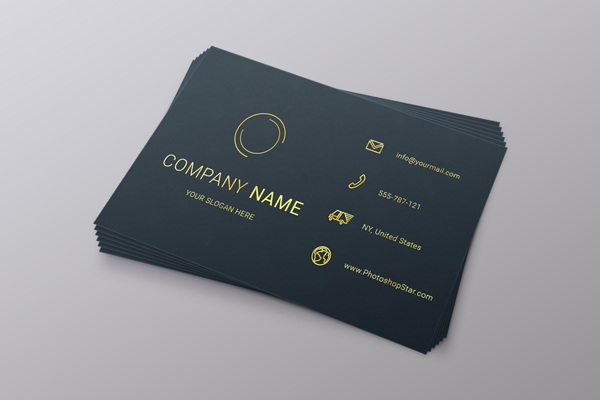
3. Utilize Space Wisely: The back side can include additional information such as services offered, a tagline, or even a QR code linking to your website or portfolio.
4. Test Layouts Before Printing: Print mock-ups of both sides to see how they look together before committing to final prints.
Conclusion
Designing a business card in Photoshop allows for creativity while ensuring that you represent yourself professionally in any networking situation. By following this guide, you can create a stunning business card that effectively communicates who you are and what you do while adhering to best practices in design and print preparation.

Related Questions
1. What are the standard dimensions for a business card?
The standard dimensions are typically 3.5 inches by 2 inches; however, including bleed areas makes it 3.75 inches by 2.25 inches.
2. Why is CMYK preferred over RGB for printing?
CMYK is used for printing because it represents the four ink colors used in color printing (Cyan, Magenta, Yellow, Black), whereas RGB is used for digital screens.
3. How can I ensure my text doesn't get cut off during printing?
Keep all important text and graphics within the safe zone, which is typically 1/8 inch inside from the trim line.
4. What file formats are best for saving print-ready business cards?
The best formats include .TIF and .PDF as they maintain high quality suitable for printing.
5. Can I use templates in Photoshop for my business card design?
Yes! There are many free and paid templates available online that can help streamline your design process while ensuring professional quality.
Citations:
[1] https://clubcardprinting.com/blogs/graphic-design-tutorials/how-to-setup-a-business-card-in-adobe-photoshop
[2] https://www.loudegg.com/how-to-make-a-business-card-in-photoshop/
[3] https://www.edrawmax.com/article/how-to-create-a-business-card-in-photoshop.html
[4] https://www.reddit.com/r/photoshop/comments/540w48/best_settings_for_business_card_template/
[5] https://business.tutsplus.com/tutorials/how-to-create-a-modern-business-card-in-adobe-photoshop--cms-29104
[6] https://www.youtube.com/watch?v=eqFcuLTFa10
[7] https://community.adobe.com/t5/photoshop-ecosystem-discussions/business-card-mock-up-tutorial/m-p/9399294
[8] https://www.youtube.com/watch?v=AMy0hxJ_jns
[9] https://creativecloud.adobe.com/discover/article/how-to-create-memorable-business-cards-in-photoshop


