Content Menu
● Materials Needed
● Step 1: Choose Your Paper
>> Types of Paper to Consider
● Step 2: Measure and Cut Your Paper
>> Additional Measurement Tips
● Step 3: Create Folds
>> Importance of Crisp Folds
● Step 4: Cut Out Flaps
>> Flap Design Variations
● Step 5: Assemble Your Box
>> Tips for Assembly
● Step 6: Decorate Your Gift Box
>> Creative Decoration Ideas
● Step 7: Personalization Techniques
● Tips for Making Gift Boxes
● Conclusion
● Related Questions
>> 1. What types of paper can I use for making gift boxes?
>> 2. How do I make my gift box more decorative?
>> 3. Can I make different shapes of gift boxes?
>> 4. Is it possible to make collapsible gift boxes?
>> 5. How do I ensure my gift box is sturdy?
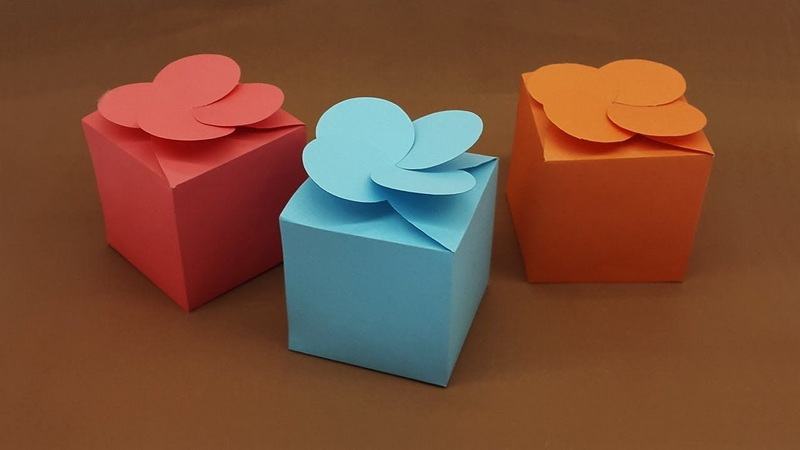
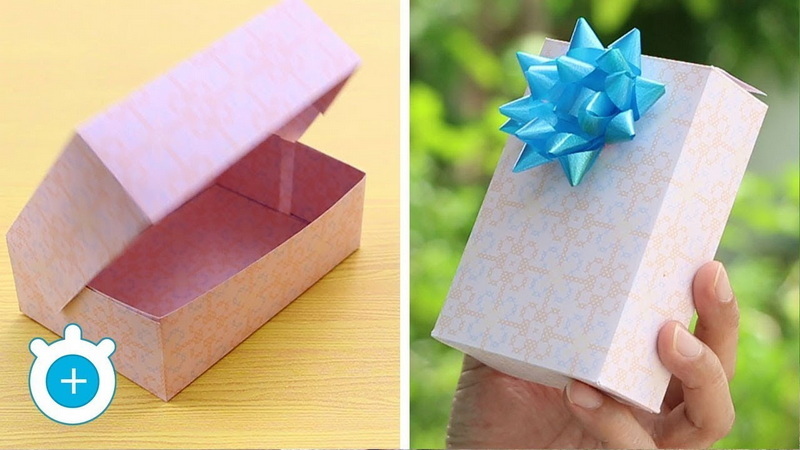
Creating a gift box out of paper is not only a fun and creative project, but it also adds a personal touch to your gifts. Whether you're preparing for a birthday, holiday, or special occasion, a handmade gift box can elevate the presentation of your gift. This article will guide you through the process step-by-step, providing tips and ideas along the way.

Materials Needed
Before you begin making your gift box, gather the following materials:
- Sturdy paper or cardstock (decorative paper works well)
- Scissors
- Ruler
- Pencil
- Glue or double-sided tape
- Decorative items (ribbons, stickers, markers)
Step 1: Choose Your Paper
The first step in making a gift box is selecting the right type of paper. You can use plain cardstock for a classic look or choose patterned paper for something more colorful and festive. Consider the size of the gift you plan to put inside the box when selecting your paper.
Types of Paper to Consider
- Cardstock: This is thicker than regular paper and provides good structure for your box.
- Scrapbook Paper: Available in various designs and colors, scrapbook paper can add a unique flair to your gift box.
- Wrapping Paper: Although thinner, wrapping paper can be used creatively if layered or reinforced with another material.
- Recycled Paper: Old magazines or newspapers can add an artistic touch and are environmentally friendly.
Step 2: Measure and Cut Your Paper
To create a box, you need to cut your paper into specific dimensions. Here's a simple formula to follow:
1. Decide on the size of your box. For example, if you want a box that is 6 inches long, 4 inches wide, and 3 inches high, you will need to create a net that includes all sides of the box.
2. Using your ruler and pencil, draw a rectangle on your paper that measures 12 inches by 10 inches. This will create a box with the dimensions mentioned above.
3. Mark where the folds will be. From one edge of the rectangle, measure 3 inches inwards and make a mark. Do this on all four sides to indicate where the sides of the box will fold.
Additional Measurement Tips
- Always double-check your measurements before cutting to ensure accuracy.
- Use a cutting mat to protect your surfaces when using scissors or craft knives.
Step 3: Create Folds
Once you have marked your measurements, it's time to create folds:
1. Using your ruler, draw straight lines connecting the marks you made earlier.
2. Fold along these lines carefully to ensure crisp edges. Use your fingers or a bone folder for sharper creases.
Importance of Crisp Folds
Crisp folds are essential for creating clean edges on your gift box. They help maintain the shape and ensure that the box closes properly.
Step 4: Cut Out Flaps
To make your box easier to assemble, you will need flaps:
1. On two opposite sides of your rectangle, cut small squares (about 1 inch by 1 inch) from each corner.
2. These flaps will allow you to secure the sides of the box together.
Flap Design Variations
You can experiment with different flap designs:
- Rounded Flaps: Instead of square corners, try rounding them for a softer look.
- Decorative Edges: Use decorative scissors to create scalloped edges on your flaps for added flair.
Step 5: Assemble Your Box
Now that you have all your folds and cuts ready, it's time to assemble:
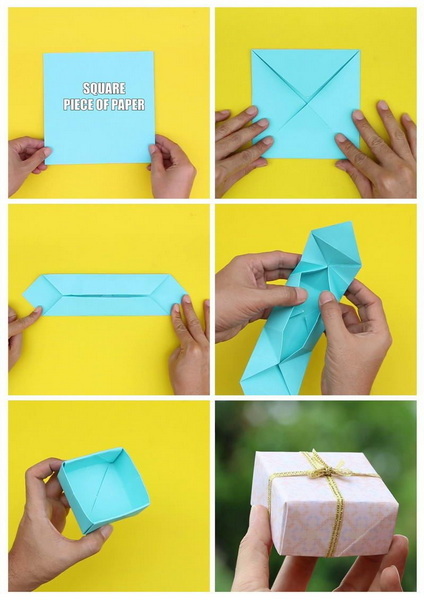
1. Start by folding up the sides of your box.
2. Take one flap from each side and apply glue or double-sided tape to secure it to the adjacent side.
3. Repeat this process until all sides are secured and your box is complete.
Tips for Assembly
- Allow sufficient drying time if using glue to ensure that everything holds together well.
- If you're using tape, make sure it's strong enough to hold the weight of whatever you'll place inside.

Step 6: Decorate Your Gift Box
A plain gift box can be transformed into something special with just a little creativity:
- Use ribbons to tie around the box for an elegant touch.
- Add stickers or stamps for personalization.
- Write a heartfelt note on decorative paper and attach it to the top.
Creative Decoration Ideas
Consider these additional decoration techniques:
- Paint: Use acrylic paint to add designs directly onto the surface of your gift box.
- Washi Tape: This decorative tape comes in various patterns and colors; use it to create borders or designs on your box.
- Stencils: Use stencils to paint or draw shapes and letters on your gift box for a professional look.
Step 7: Personalization Techniques
Personalizing your gift box makes it even more special:
1. Monograms: Add initials or names using stickers or hand lettering.
2. Photos: Attach small printed photos that relate to the occasion or recipient.
3. Themes: Match decorations with themes such as holidays (Christmas ornaments), birthdays (balloons), or other celebrations (flowers).
Tips for Making Gift Boxes
- Experiment with Sizes: Don't hesitate to experiment with different sizes and shapes for unique gifts.
- Use Recycled Materials: Old magazines or wrapping paper can be repurposed into beautiful gift boxes.
- Involve Kids: Making gift boxes can be a fun family activity; involve children in decorating their own boxes.
- Practice Origami: If you're looking for something more intricate, consider learning origami techniques to create beautiful paper boxes.
Conclusion
Making a gift box out of paper is an enjoyable craft that allows for creativity and personalization. With just some basic materials and steps outlined above, anyone can create beautiful boxes that enhance their gifts' presentation. Remember that practice makes perfect; don't be discouraged if your first few attempts don't turn out as expected. Enjoy the process and let your creativity shine!

Related Questions
1. What types of paper can I use for making gift boxes?
You can use various types of paper such as cardstock, scrapbook paper, wrapping paper, or even recycled materials like old magazines or newspapers.
2. How do I make my gift box more decorative?
You can add ribbons, stickers, stamps, or even hand-drawn designs to personalize and embellish your gift box.
3. Can I make different shapes of gift boxes?
Yes! By adjusting the measurements and cutting techniques, you can create various shapes such as square boxes, rectangular boxes, or even more complex designs like hexagonal boxes.
4. Is it possible to make collapsible gift boxes?
Absolutely! You can design collapsible boxes by using specific folding techniques that allow them to lay flat when not in use.
5. How do I ensure my gift box is sturdy?
Using thicker paper like cardstock or layering multiple sheets together can help make your gift box more durable and sturdy.


