Content Menu
● Quick Answer: How Many Colors Can an Enamel Pin Have?
● Why Color Count Matters in Enamel Pin Production
● Soft Enamel vs. Hard Enamel: Does Color Count Change?
● The Real Limit: Pin Size and Color Area Width
● How Many Colors Should Your Enamel Pin Have?
>> 1–2 Colors: Bold and Cost-Efficient
>> 3–6 Colors: The Sweet Spot
>> 7–8 Colors: Detailed but Manageable
>> 9–12+ Colors: Possible, But Plan Carefully
>> More Than 12 Colors: Consider Printing
● How to Specify Enamel Pin Colors Correctly
>> Use Pantone Solid Coated Colors
>> Separate Every Color Area With Metal Lines
>> Approve a Pre-Production Proof
● Cost: Do More Colors Cost More?
● Expert Insight: Design for the Pin, Not the Screen
● Special Enamel Effects: Do They Count as Colors?
● How XingKun Helps Brands Choose the Right Color Count
● Common Mistakes to Avoid
● Conclusion
● FAQ
>> 1. How many colors can an enamel pin have?
>> 2. Is there a maximum number of enamel colors?
>> 3. Do more colors make an enamel pin more expensive?
>> 4. Can enamel pins have gradients?
>> 5. What color system should I use for enamel pins?
>> 6. How many colors are best for a small enamel pin?
>> 7. Can I use more than 10 colors on an enamel pin?
● References
An enamel pin can usually have 1–8 enamel colors without complicating production. Many manufacturers can produce pins with 10, 15, or even 20+ colors, but the practical limit depends on pin size, artwork detail, enamel type, metal-line thickness, and budget. For most custom enamel pins, 3–6 colors delivers the best balance of visual impact, color accuracy, and manufacturing reliability.
At XingKun, we produce custom badges, enamel pins, lapel pins, and related printed merchandise for brands, wholesalers, and event organizers. From a production standpoint, the real question is not simply "How many colors can an enamel pin have?" It is: How many colors can your pin carry while remaining legible, durable, and cost-effective at your chosen size?
This guide explains the technical limits, cost factors, artwork rules, and design decisions behind enamel pin color counts.
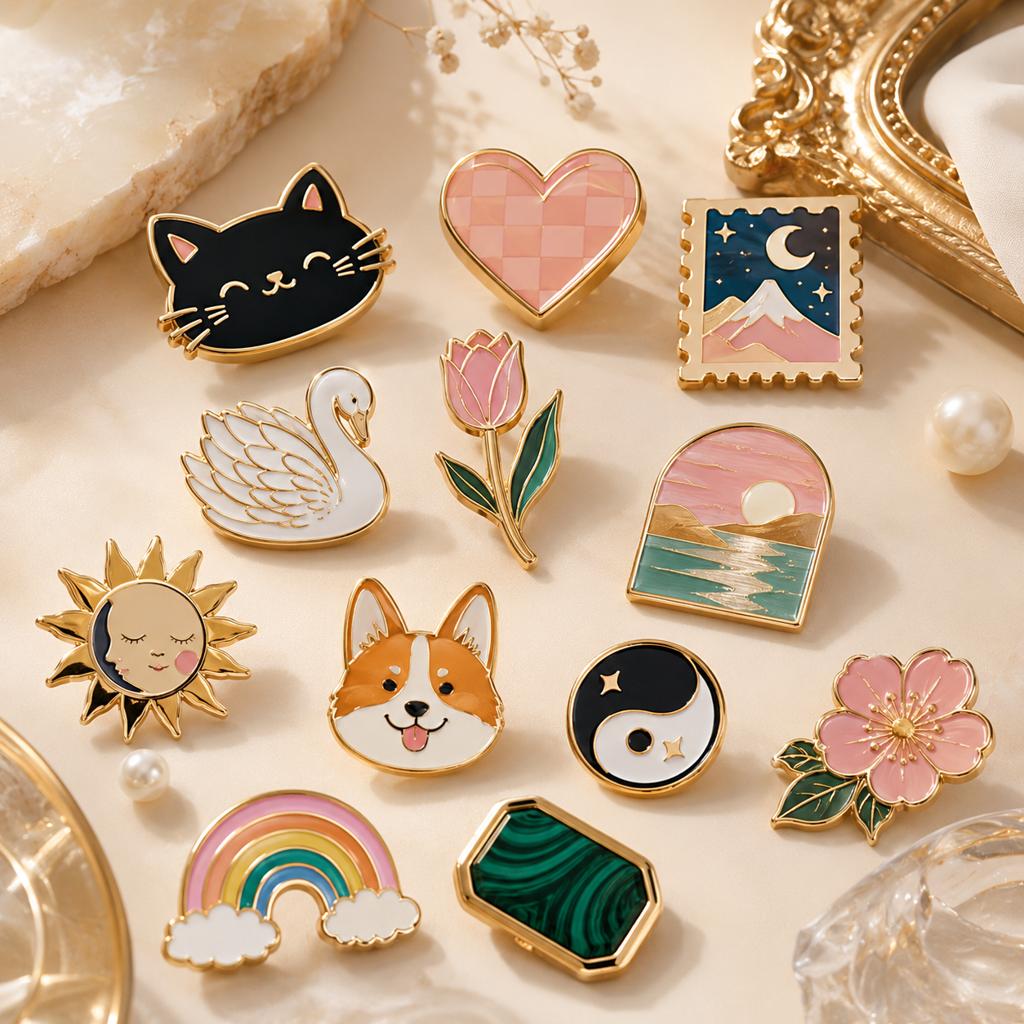
Quick Answer: How Many Colors Can an Enamel Pin Have?
| Pin design scenario | Practical color range | What to expect |
| Simple logo or icon | 1–3 colors | Lowest cost, strong readability, fastest production |
| Standard branded pin | 3–6 colors | Best balance of detail, cost, and quality |
| Detailed character or illustration | 6–8 colors | Achievable with careful separation and adequate size |
| Complex collectible pin | 8–12 colors | Possible, but needs larger artwork and closer QC |
| Photographic or gradient artwork | Often better with printing | UV, offset, or screen printing may outperform enamel fills |
Short answer: Most enamel pins use 3–6 colors. A pin can technically include many more, but every added color increases the number of enamel fills, color-matching checks, and potential production risks.
Industry guidance commonly places the practical range at 8–10 distinct enamel colors for a single pin, while noting that clean-reading designs often use 3–6 colors. Other manufacturers state that pins can technically support up to 20 colors, but recommend 1–8 colors for typical 0.75–1.5 inch pins. [mwgifts]
Why Color Count Matters in Enamel Pin Production
An enamel pin is not printed like a poster. In traditional enamel production, each color area is a separate recessed cavity filled with enamel. Raised metal lines, also called die lines, separate those areas and prevent colors from bleeding into one another. [pixeltopin]
That means every additional color affects:
- Tooling complexity: More color zones may require more precise mold and die-line planning.
- Color matching: Each enamel color needs a specified reference, usually a Pantone Solid Coated code.
- Fill accuracy: Small or irregular color cells are harder to fill consistently.
- Inspection time: More colors create more opportunities for color variation or overflow.
- Cost: Some suppliers include a set number of colors in the base price and charge for additional fills. [shoplazza]
A pin with five bold color blocks is usually straightforward. A 20 mm pin with 15 tiny color areas may look impressive on screen but become difficult to manufacture cleanly.
Soft Enamel vs. Hard Enamel: Does Color Count Change?
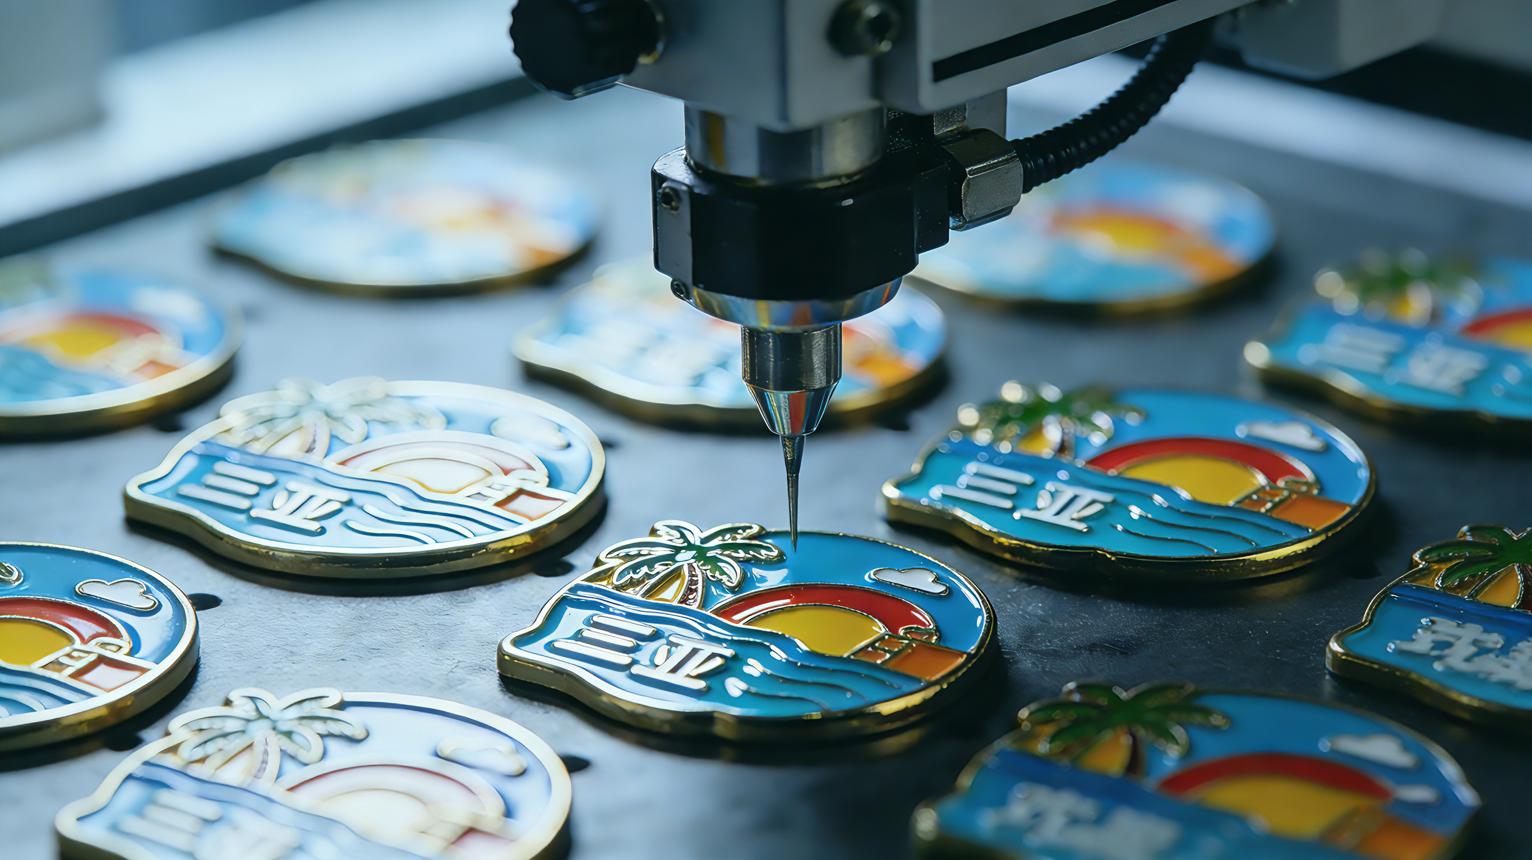
Both soft and hard enamel pins can support multiple colors, but they behave differently in production.
| Feature | Soft enamel pin | Hard enamel pin |
| Surface | Recessed color areas with raised metal lines | Polished flat, with enamel level to the metal |
| Typical feel | Textured and dimensional | Smooth, glossy, jewelry-like |
| Color appearance | Often deeper because shadows fall into recesses | Cleaner and brighter because the surface reflects light evenly |
| Production tolerance | More forgiving for simple multi-color designs | Requires precise die lines and careful polishing |
| Best use | Event pins, giveaways, bold graphics | Premium branding, collector pins, refined logos |
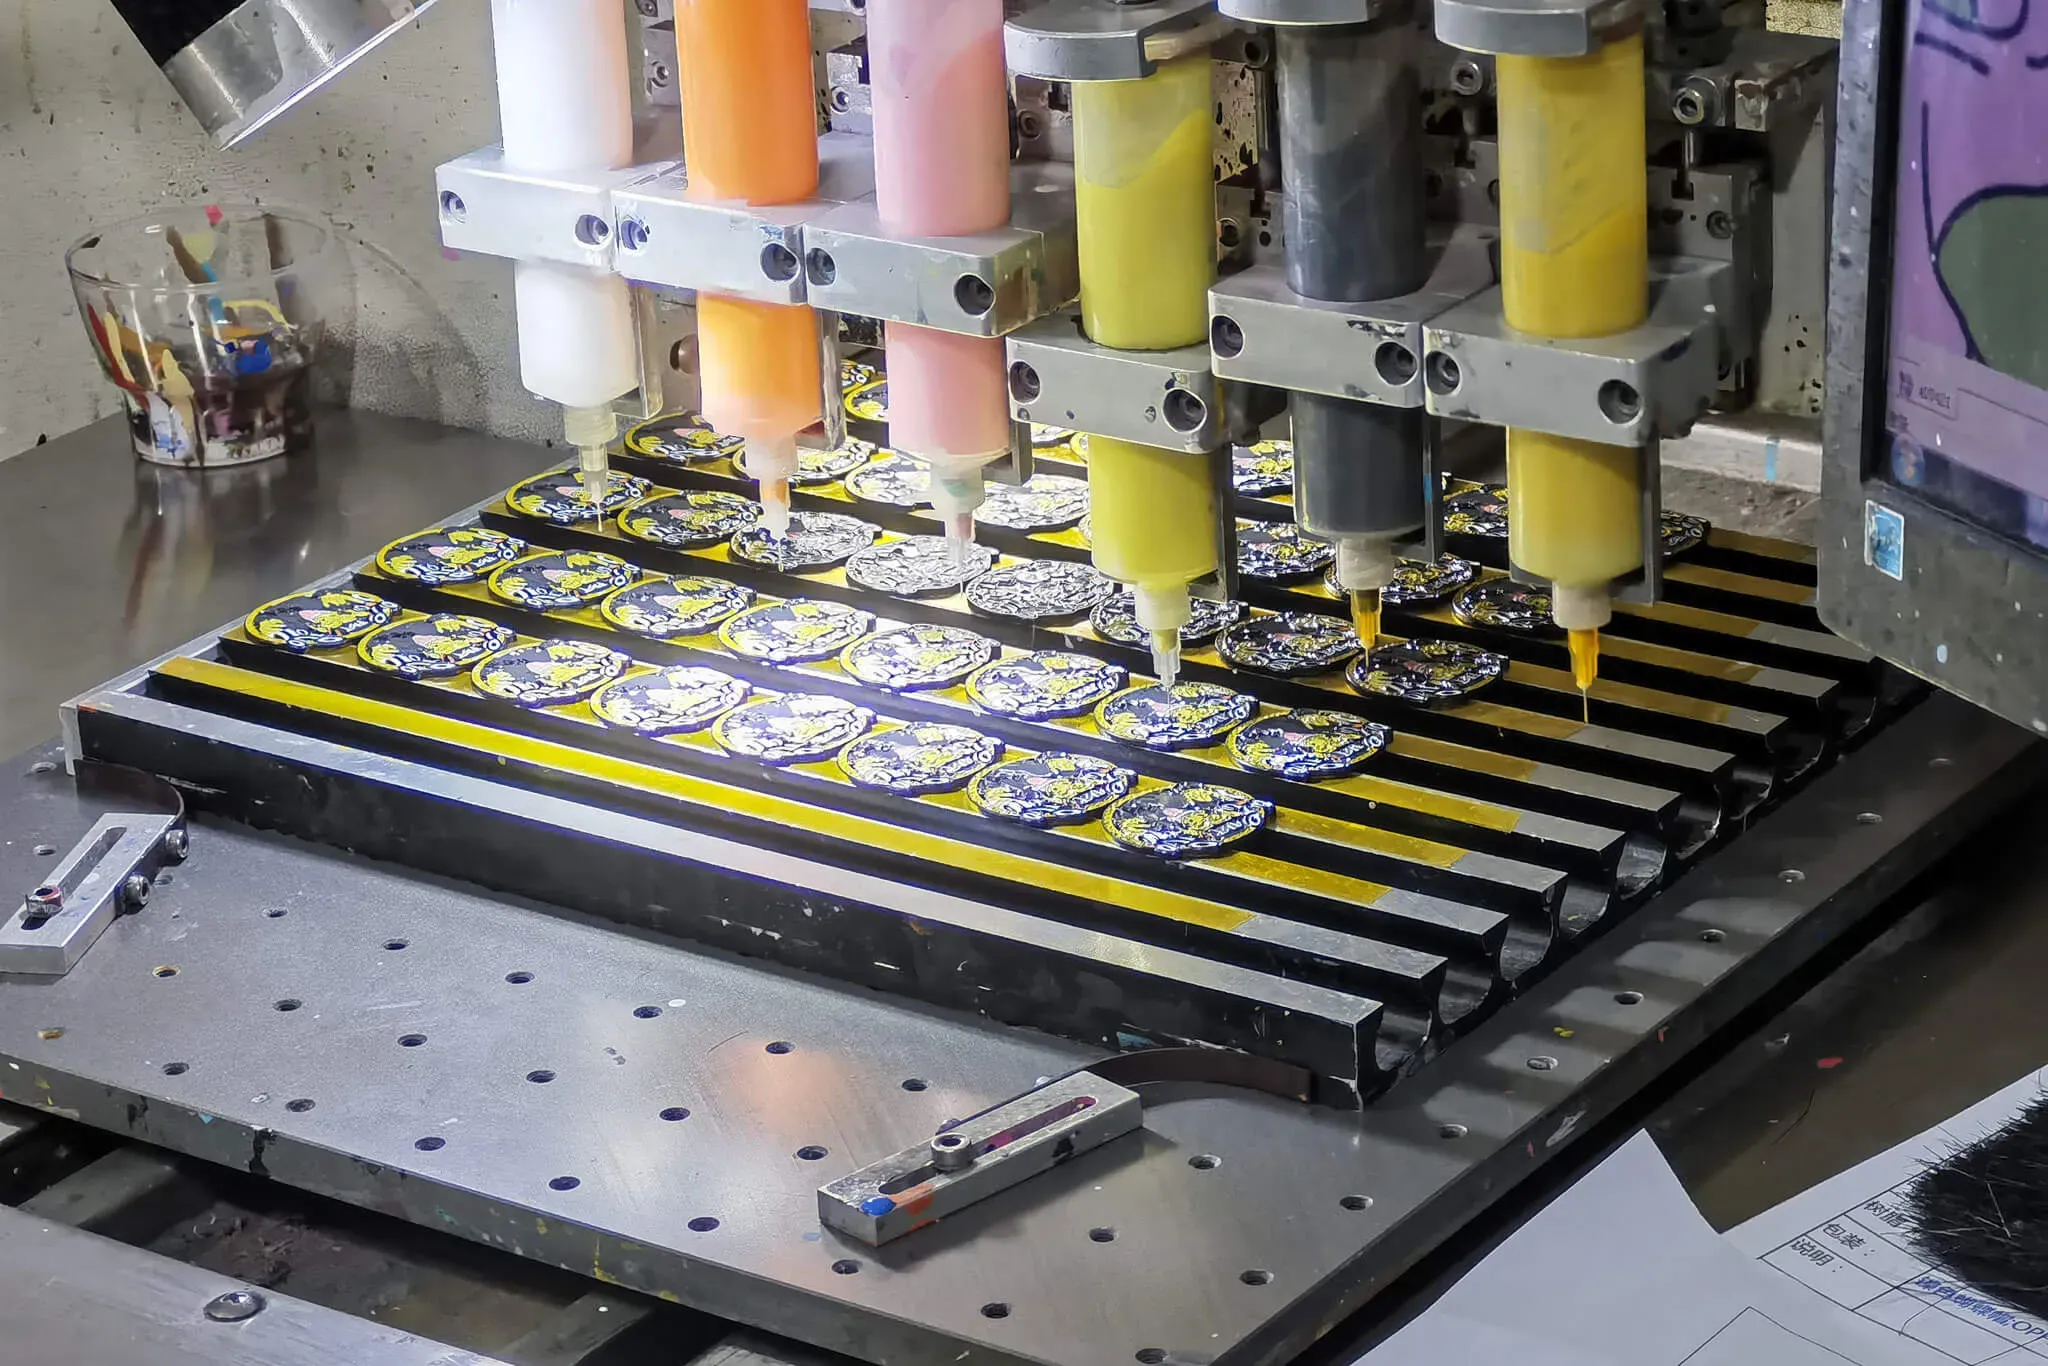
Soft enamel uses liquid enamel that is filled into recessed areas and cured. Hard enamel is built up in layers, fired, then ground and polished flat. Because hard enamel is polished flush, its metal boundaries need enough width to survive the finishing process. [mwgifts]
Color-count implication: Soft enamel is often more forgiving for textured, graphic designs. Hard enamel can look more premium, but very fine color separation becomes more demanding because the surface is polished flat.
The Real Limit: Pin Size and Color Area Width
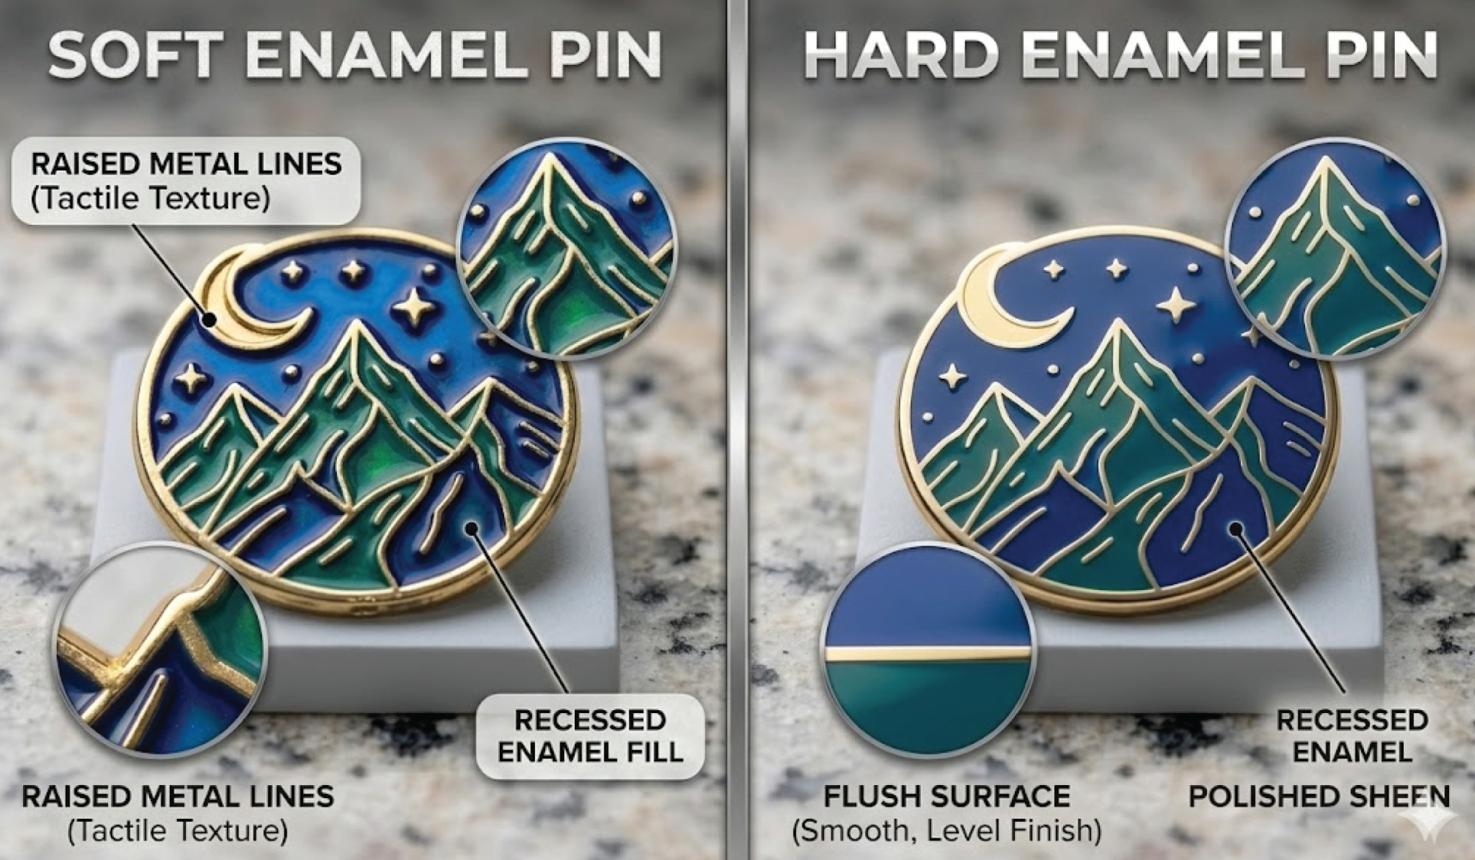
The number of colors is less important than the size of each color area. A large 1.5 inch pin can support more colors than a 0.75 inch pin because each color zone has more physical space.
A common production guideline is:
- 0.75 inch / 19 mm: Simple shapes, 1–3 colors, no small text. [mwgifts]
- 1 inch / 25 mm: 3–6 colors can work well when shapes are clear.
- 1.25 inch / 32 mm or larger: Better suited to 6–10 colors or more detailed illustrations. [mwgifts]
Enamel fill areas also need minimum width. One manufacturer recommends at least 0.25 mm for soft enamel and 0.30 mm for hard enamel. Metal separation lines commonly need to be around 0.3 mm for soft enamel and 0.4 mm for hard enamel. [mwgifts]
Practical rule: If a color area is too small to fill cleanly, reduce the color count, enlarge the pin, or move that detail to a printed layer.
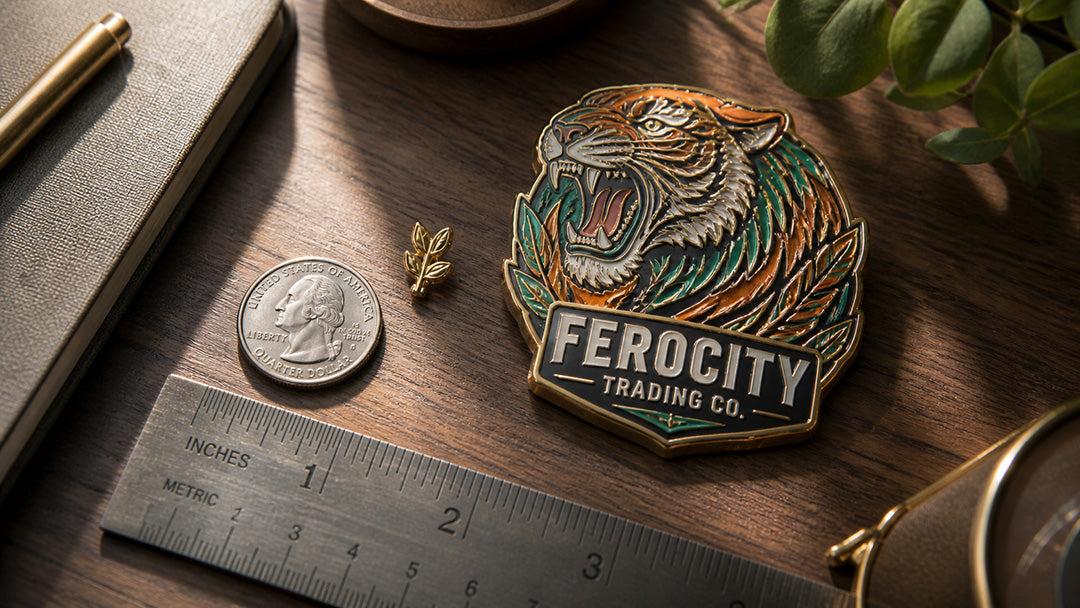
How Many Colors Should Your Enamel Pin Have?
1–2 Colors: Bold and Cost-Efficient
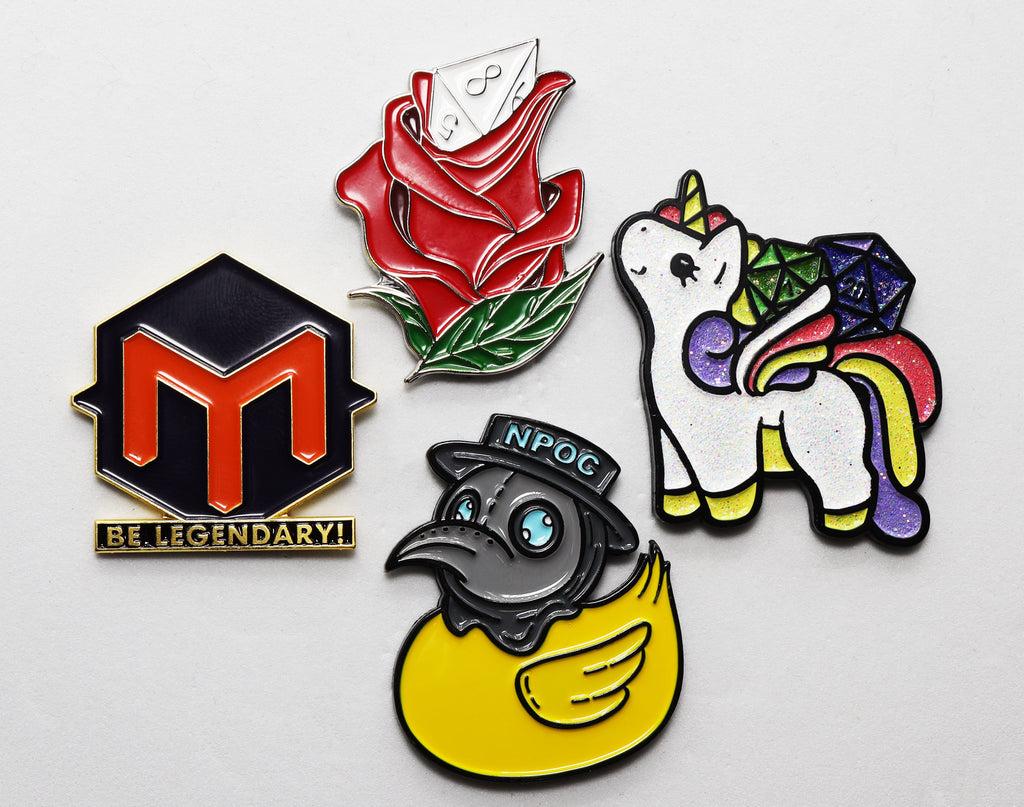
One- or two-color pins are excellent for minimalist logos, text-based pins, awareness campaigns, and event merchandise. They are easy to read from a distance and usually keep tooling and QC simple.
Best for:
- Corporate logo pins
- Club or team identity pins
- Simple icon pins
- Low-budget giveaways
3–6 Colors: The Sweet Spot
For most brands, 3–6 colors is the ideal range. It gives enough flexibility for a logo, mascot, character, or illustrative design while keeping each color zone large enough for reliable filling.
Best for:
- Mascot pins
- Product launch merchandise
- Anime and cartoon-inspired pins
- Retail collectibles
- Branded promotional pins
This range is widely recommended because it balances visual richness, production reliability, and cost efficiency. [createpins]
7–8 Colors: Detailed but Manageable
Seven or eight colors can work well for character art, nature themes, gaming pins, and detailed brand illustrations. At this level, the designer should simplify tiny transitions and ensure each color has a clearly enclosed area.
Best for:
- Collectible series
- Character merchandise
- Festival or convention pins
- Premium brand merchandise
9–12+ Colors: Possible, But Plan Carefully
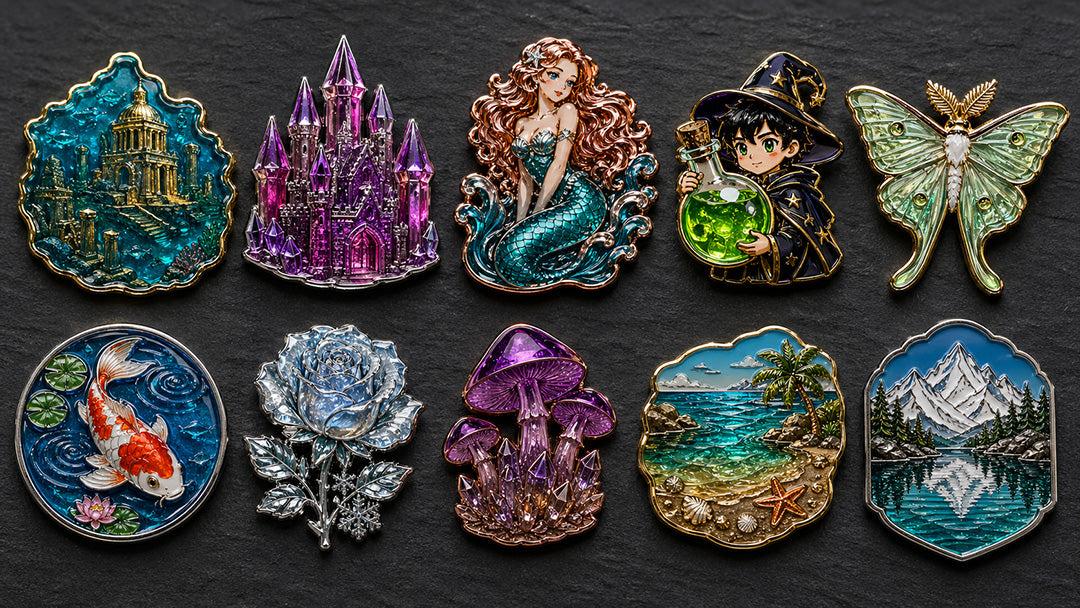
Some factories can produce pins with 9–12 colors or more. However, this is where production risk rises. The pin should generally be larger, the artwork should avoid hairline separations, and the manufacturer should review the design before quoting. [gumtoo]
Best for:
- Large-format collector pins
- Limited-edition art pins
- Detailed emblem or crest designs
- Pins where color count is part of the product's value
More Than 12 Colors: Consider Printing
If your design includes gradients, photographic imagery, tiny shadows, or many blended tones, traditional enamel may not be the best solution. UV printing, offset printing, or screen printing can reproduce complex color transitions that separate enamel fills cannot. [pixeltopin]
For example, a watercolor-style landscape may look better as a printed pin with selective enamel accents than as a pin made entirely from 20 enamel colors.
How to Specify Enamel Pin Colors Correctly
Use Pantone Solid Coated Colors
Do not rely only on RGB, HEX, or CMYK values. Screens emit light, while enamel pins use physical pigment and metal plating, so colors can appear differently in person. [enamelpins]
The industry-preferred reference is Pantone Solid Coated (PMS C) because it gives the factory a physical color standard to match. [mwgifts]
Send your manufacturer:
- Pantone Solid Coated code for every enamel fill
- A labeled color callout or swatch legend
- Separate line-art and color-fill files when possible
- Pin size, enamel type, plating color, and finish
- Any special effects, such as glitter, glow, translucent, or pearlescent enamel
Many pin makers can match solid-coated Pantone colors, though they may not match metallic, pastel, or CMYK-based Pantone references in the same way. [mwgifts]
Separate Every Color Area With Metal Lines
In traditional enamel construction, adjacent enamel colors normally need a raised metal boundary between them. Without that separation, wet enamel can mix or bleed during filling. [mwgifts]
This is why a design that looks simple on a computer may need changes before production:
- Merge overly small color areas.
- Add metal outlines between touching colors.
- Convert fine gradients into stepped color blocks.
- Use screen printing or UV printing for fine details.
Approve a Pre-Production Proof
A digital mockup is useful, but it cannot fully show how enamel pigment, metal plating, lighting, and surface texture will interact. Request a pre-production sample or color proof before mass production, especially for brand-critical colors.
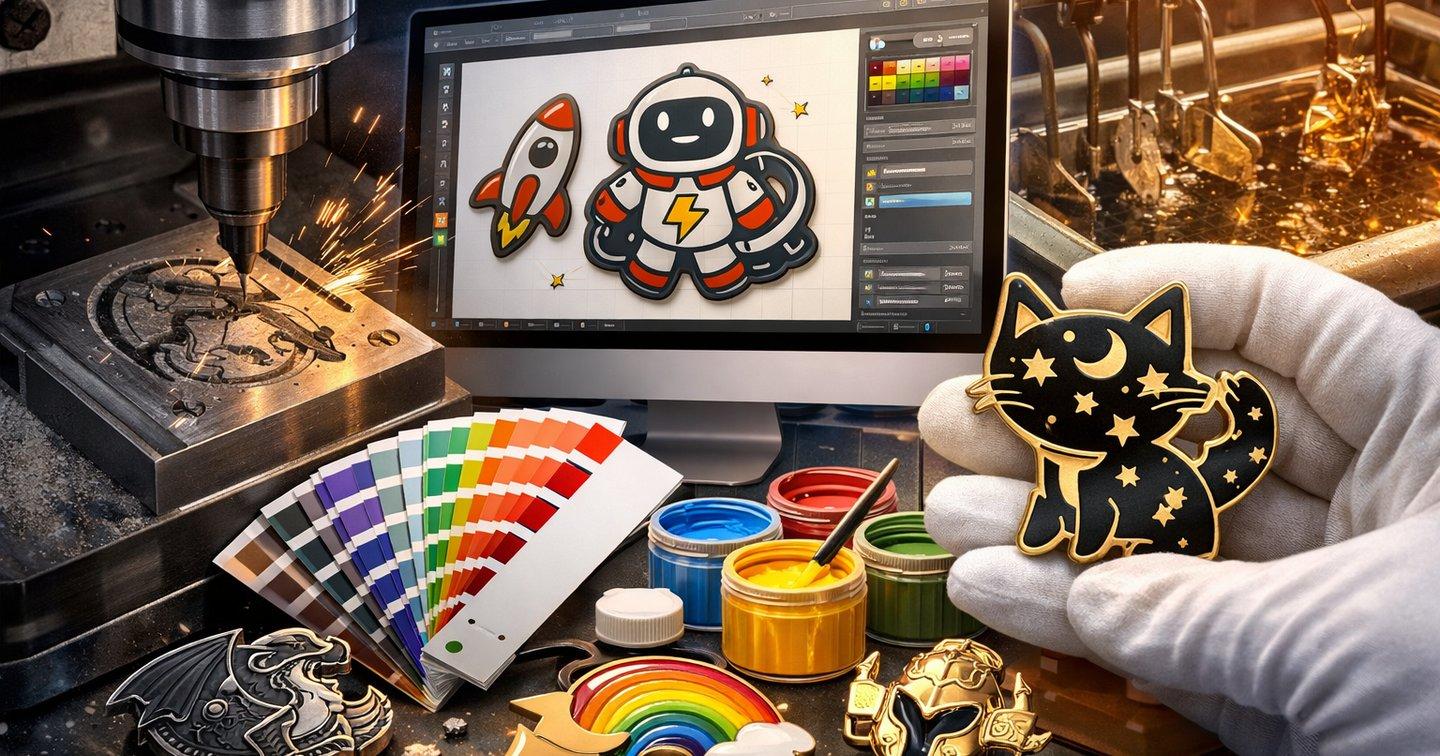
XingKun's badge production workflow includes design approval, material selection, coloring and filling, finishing, quality control, and packaging. Sampling is particularly valuable for enamel pins because it reduces the risk of color or design errors before full production. [xkdisplay]
Cost: Do More Colors Cost More?
Sometimes yes, sometimes no. It depends on the supplier's pricing model.
Some enamel pin factories include up to eight colors at the same price and charge extra beyond that limit. Others advertise no color restrictions or no extra charge for additional colors, but may apply surcharges above a certain number of fills. [shoplazza]
Even when a supplier does not charge per color, more colors can still increase indirect costs through:
- Longer artwork preparation
- More complex mold or die-line work
- Additional color-matching steps
- Higher defect-inspection requirements
- More time spent on samples and revisions
Budget-friendly approach: Start with 3–5 colors. Add colors only where they improve recognition, storytelling, or shelf appeal.
Expert Insight: Design for the Pin, Not the Screen
The biggest mistake we see is designing an enamel pin like a digital illustration. A screen can show gradients, transparency, tiny highlights, and unlimited colors. A physical enamel pin has metal borders, solid fills, plating reflections, and minimum fill widths.
A strong enamel pin design usually follows these principles:
1. Use fewer, larger color zones.
2. Keep the most important element high-contrast.
3. Avoid tiny text below the manufacturer's minimum size.
4. Use metal plating as a design color, not just an outline.
5. Reserve special effects for one focal area.
6. Test the artwork at actual production size.
For example, a 25 mm cartoon cat pin may work beautifully with five colors: black outline, white face, orange body, pink nose, and blue eyes. Adding six more shades to create subtle fur gradients may make the pin harder to produce and less readable at arm's length.
Special Enamel Effects: Do They Count as Colors?
Special effects can expand your design options, but they should be planned separately from standard enamel fills.
Common options include:
- Glitter enamel: Adds sparkle to a color area.
- Glow-in-the-dark enamel: Charges in light and glows in darkness.
- Translucent enamel: Allows the metal base to show through.
- Pearlescent enamel: Creates an iridescent or shifting effect.
- Epoxy coating: Adds a clear dome over the design for gloss and protection.
XingKun notes that epoxy coating on enamel pins can improve durability and reduce fading, while custom badges can be finished in glossy, matte, metallic, or epoxy-coated styles. [xkdisplay]
Important: Treat special effects as upgrades, not simply "another color." They may require separate approval, sampling, and quality checks.
How XingKun Helps Brands Choose the Right Color Count
XingKun provides customized badge and enamel pin services, including cartoon enamel pins, custom lapel pins, event badges, and magnetic badges. The company states that it has 20 years of production experience and offers customization across logo, artwork, text, colors, size, and finish. [xkdisplay]
For a custom enamel pin project, we recommend this workflow:
1. Share your artwork, target size, and intended use.
2. Confirm whether the design needs soft enamel, hard enamel, or printed details.
3. Convert colors to Pantone Solid Coated references.
4. Review a technical artwork check for fill width and metal separation.
5. Approve a pre-production sample.
6. Move to mass production only after color and finish are confirmed.
This process protects brand consistency and reduces expensive revisions later.
Common Mistakes to Avoid
- Using too many tiny colors: Small color cells reduce fill reliability.
- Sending RGB-only artwork: HEX and RGB values do not provide a reliable physical enamel reference. [enamelpins]
- Ignoring metal lines: Adjacent enamel areas need separation to prevent bleeding. [pixeltopin]
- Designing gradients as enamel: Traditional enamel fills are solid colors; gradients generally require printing. [gs-jj]
- Skipping the sample: Color may shift slightly between screen and physical enamel. [enamelpins]
- Choosing color count before size: A 6-color design may be easy at 32 mm but difficult at 19 mm.
Conclusion
Most custom enamel pins work best with 3–6 colors, while many manufacturers can produce 8–12 colors or more when the pin is large enough and the artwork is properly prepared. The true limit is not a universal number—it is determined by pin size, enamel type, minimum fill width, metal-line separation, and the complexity of the artwork.
For the best result, use Pantone Solid Coated colors, keep color zones large and clearly separated, and approve a physical sample before mass production. If your design depends on gradients, photography, or extremely fine detail, ask your manufacturer whether UV printing, offset printing, or screen printing should replace some enamel fills.
Ready to develop a custom enamel pin with the right color strategy for your brand? Explore XingKun's custom badge and enamel pin capabilities or contact our team for artwork review, color matching, sampling, and OEM/ODM production support. [xkdisplay]
FAQ
1. How many colors can an enamel pin have?
Most enamel pins use 3–6 colors. Many factories can produce 8–10 colors, and some can handle 20+ colors for larger or highly detailed designs. The practical limit depends on pin size, color-area width, and production method. [mwgifts]
2. Is there a maximum number of enamel colors?
There is no single universal maximum. Some suppliers advertise unlimited colors, while others include a set number in the base price and charge for extras. In practice, more colors mean more complex artwork preparation, color matching, and quality control. [shoplazza]
3. Do more colors make an enamel pin more expensive?
They can. Some manufacturers include up to eight colors at no additional charge, while others charge for each color beyond a limit. Even without a per-color fee, additional colors may increase sampling, tooling, and inspection costs. [shoplazza]
4. Can enamel pins have gradients?
Traditional soft and hard enamel pins use separate solid-color fills, so smooth gradients are generally not produced directly in enamel. For gradients, shadows, photographs, or detailed blends, manufacturers often recommend UV printing, offset printing, or screen printing. [pixeltopin]
5. What color system should I use for enamel pins?
Use Pantone Solid Coated (PMS C) codes. They provide a physical reference that factories can use to match enamel pigment more accurately than RGB, HEX, or CMYK screen values. [mwgifts]
6. How many colors are best for a small enamel pin?
For a small pin, such as 19–25 mm, 1–4 colors is usually safest. Small pins have limited space for color zones and metal separation lines, so simpler artwork produces cleaner results. [mwgifts]
7. Can I use more than 10 colors on an enamel pin?
Yes, especially on a larger pin. However, you should expect closer artwork review, potentially higher cost, and a stronger need for pre-production sampling. For designs above 8 colors, consider whether printing can handle the most detailed areas. [gumtoo]
References
1. XingKun, "Badges," product and capability page: [https://www.xkdisplay.com/badges.html] [xkdisplay]
2. Shoplazza, "How to Make Enamel Pins to Sell Online": [https://www.shoplazza.com/blog/how-to-make-enamel-pins-to-sell] [shoplazza]
3. GS-JJ, "Custom Enamel Pins": [https://www.gs-jj.com/enamel-pins/Custom-Enamel-Pins] [gs-jj]
4. EnamelPins.com, "Enamel Pin Guide": [https://www.enamelpins.com/us/info/enamel-pin-guide] [enamelpins]
5. Monterey Company, "Custom Enamel Pins": [https://montereycompany.com/custom-enamel-pins/] [montereycompany]
6. MW Gifts, "How to Prepare Artwork for Custom Enamel Pins": [https://mwgifts.com/pt/lapel-pin-artwork-guide/] [mwgifts]
7. CreatePins, "How to Choose Enamel Pin Colors": [https://createpins.com/blog/enamel-pin-colors-guide/] [createpins]
8. Monterey Company, "Custom Lapel Pins": [https://montereycompany.com/pins/] [montereycompany]
9. PixelToPin, "Enamel Pin Design Limits: Line Thickness & Small Details": [https://pixeltopin.com/blogs/enamel-pin-guides/enamel-pin-design-limits-line-thickness-detail-size] [pixeltopin]
10. Custom Woven Labels, "Hard Enamel vs Soft Enamel Pins: Key Differences": [https://customwovenlabels.com/blog/post/hard-enamel-vs-soft-enamel-pins-whats-the-difference] [customwovenlabels]
11. Gumtoo, "Custom Enamel Pins: Complete Guide for Businesses": [https://gumtoo.sg/university/custom-enamel-pins-guide] [gumtoo]
12. THE/STUDIO, "A Guide to Pin Styles: Enamel Pins, Metal Pins, and More": [https://www.thestudio.com/blog/a-guide-to-pin-styles/] [thestudio]


