Content Menu
● Why Product Dimensions Matter for Packaging Boxes
● Understanding Length, Width, and Height
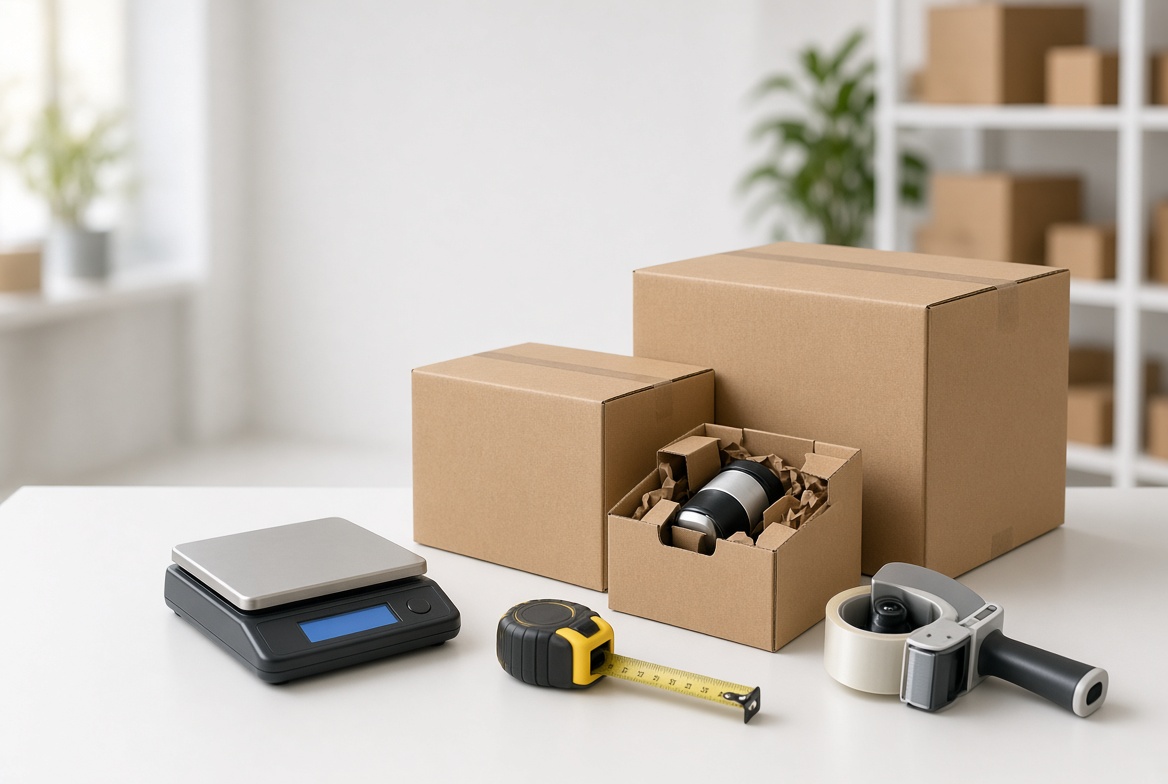
● Tools for Measuring Product Dimensions Accurately
● How to Measure Rectangular Products Step by Step
>> Step 1: Prepare the Product as It Will Be Packed
>> Step 2: Measure the Maximum Length and Width
>> Step 3: Measure the Maximum Height
>> Step 4: Repeat and Document
● How to Measure Cylindrical and Irregular Products
>> Cylindrical Products: Measure Diameter and Overall Height
>> Irregular Products: Measure the Bounding Envelope
● Product Dimensions vs. Internal and External Box Dimensions
● How Much Extra Space Should You Add?
● A Worked Example: Turning Product Measurements into Box Requirements
● Measuring Multi-Item Sets and Packaging Inserts
● Validate Fit Before Approving Production
>> Check Packing and Removal
>> Check Closure and Product Movement
>> Confirm the Approved Specification
● How Packaging Dimensions Affect Shipping Costs
● Prepare a Clear Custom Packaging Request
● Frequently Asked Questions
>> 1. What Order Should Product Dimensions Follow?
>> 2. Should I Measure the Product or Its Existing Box?
>> 3. Is Adding 2 mm Enough for a Custom Box?
>> 4. How Do I Measure a Bottle with a Pump?
>> 5. Which Dimensions Should I Use for Shipping Quotes?
>> 6. Can a Smaller Box Always Reduce Packaging Costs?
● References
Knowing how to measure product dimensions is the first step toward creating custom packaging boxes that fit correctly, protect the contents, and present your brand professionally. However, accurate measurements involve more than recording three numbers. You also need to consider product orientation, accessories, protective materials, and the difference between a box's internal and external dimensions.
At Shenzhen XingKun Packing Products Co., Ltd., we approach packaging as a complete product-and-box system. With more than 20 years of printing and packaging experience, and service to brands and distributors across over 30 countries and regions, our focus is practical: turn clear product specifications into packaging that works.
This guide explains how to measure products, calculate a starting box size, and prepare a useful specification before ordering custom packaging.
Why Product Dimensions Matter for Packaging Boxes
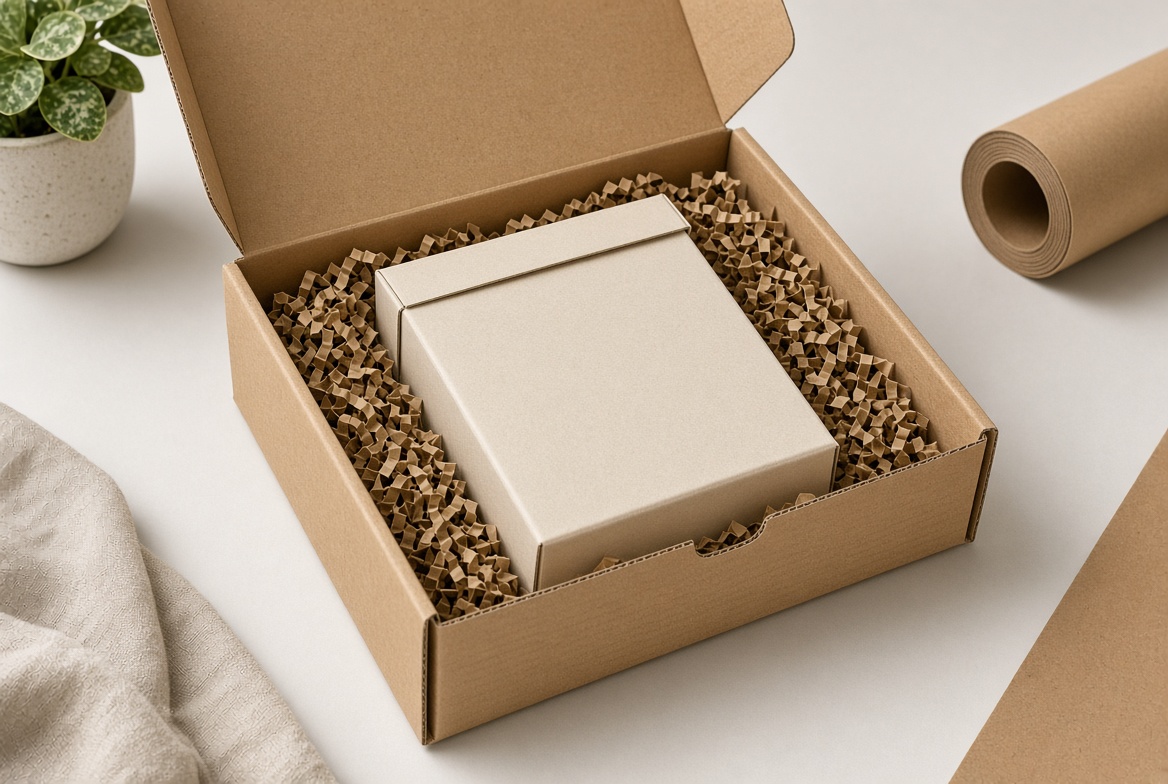
A well-sized box balances protection, presentation, and ease of use.
If the box is too tight, the product may be difficult to insert or remove. Pressure can also affect labels, decorative finishes, or delicate components.
If the box is too large, the product may move unless an insert or suitable cushioning holds it in place. Extra space can also increase packaging volume.
From a packaging-design perspective, the objective is not simply the smallest possible box. It is the smallest practical structure that accommodates the product, necessary protection, and the intended opening experience.
Begin with accurate product measurements. Then develop and verify the packaging around them.
Understanding Length, Width, and Height
Record product dimensions in a consistent sequence:
Length × Width × Height, usually abbreviated as L × W × H.
For a rectangular product, choose the intended packing orientation first. Then label the three axes clearly.
| Dimension | What to measure | Practical reminder |
| Length | The selected horizontal axis | Identify it on a photograph or sketch |
| Width | The other horizontal axis | Measure perpendicular to the length |
| Height | The bottom-to-top extent | Include protrusions and attached components |
Carrier conventions may identify the longest parcel side as its length. Packaging drawings, however, should follow the orientation agreed with your manufacturer.
Never rely on three unlabeled numbers. "120 × 80 × 35" is incomplete without units, dimension order, and an indication of what those measurements describe.
Tools for Measuring Product Dimensions Accurately
Select a tool that suits the product's size and shape.
- Rigid ruler: useful for straightforward, flat-sided products.
- Measuring tape: practical for larger objects.
- Digital or vernier caliper: useful for small products, diameters, and narrow features.
- Flat surface and square: helpful for identifying perpendicular edges.
- Camera: useful for documenting measurement positions and packing orientation.
Check the tool's zero position before measuring. Keep rulers aligned with the measurement axis, and avoid compressing soft products with caliper jaws.
For packaging development, millimeters can make small adjustments easier to communicate. If you use inches, maintain that unit consistently throughout the specification.
How to Measure Rectangular Products Step by Step
Step 1: Prepare the Product as It Will Be Packed
Measure the actual retail-ready product, not an unfinished sample.
Include caps, labels, protective sleeves, attached fittings, and other components that remain on the product inside the box.
Place it on a stable, flat surface in the proposed packing orientation.
Step 2: Measure the Maximum Length and Width
Measure from the outermost point on one side to the outermost point on the opposite side.
Repeat for the perpendicular horizontal axis.
Do not overlook rounded edges, hinges, raised controls, or decorative features extending beyond the main body.
Step 3: Measure the Maximum Height
Measure vertically from the supporting surface to the highest point.
For uneven products, use a straight edge above the highest feature to help identify the overall height without following the surface contours.
Step 4: Repeat and Document
Repeat the measurements to catch alignment or reading errors.
Where production variation is possible, measure several representative units. Record the observed range rather than treating one sample as a guaranteed maximum.
Add photographs showing each measurement direction.
How to Measure Cylindrical and Irregular Products
Cylindrical Products: Measure Diameter and Overall Height
For bottles, jars, and similar products packed upright, start with:
- Maximum outside diameter.
- Overall height, including the closure.
- Any feature extending beyond the main cylinder.
A simple cylinder with a 50 mm diameter and a 120 mm height occupies a rectangular envelope of 50 × 50 × 120 mm before allowances.
However, a pump, handle, or oversized lid may increase that envelope. Measure the widest feature, not just the body.
If the product will lie horizontally, relabel the dimensions to match that orientation.
Irregular Products: Measure the Bounding Envelope
An irregular product needs a bounding envelope: the smallest imaginary rectangular space containing it in the chosen orientation.
Position the product between flat guides and measure the maximum extent along each axis.
This method is useful for toys, tools, handled containers, and assembled components.
Do not substitute circumference for diameter when specifying a cylindrical product's fit. Packaging designers need the space the item occupies, not merely the distance around its surface.
Product Dimensions vs. Internal and External Box Dimensions
These measurements serve different purposes and should never be used interchangeably.
| Measurement | What it describes | Main use |
| Product dimensions | The item's maximum occupied space | Starting point for packaging design |
| Internal box dimensions | Usable space inside the finished box | Product fit and insert planning |
| External box dimensions | Outside size of the closed package | Shipping, storage, and handling |
Board thickness, folded layers, inserts, and box construction affect the relationship between internal and external dimensions.
A folding carton and a rigid presentation box with the same usable cavity will not necessarily have the same outside dimensions.
Ask your manufacturer to identify whether quoted dimensions are internal or external. For shipping calculations, measure the completed parcel, including any outer shipping carton.
How Much Extra Space Should You Add?
There is no universal clearance suitable for every packaging box.
A small allowance may work for a straightforward product in a simple carton. It may be unsuitable for glassware, textured surfaces, snug inserts, or products requiring substantial transit protection.
Separate your allowances into three categories:
1. Handling clearance: space needed for insertion and removal.
2. Protective space: room for inserts, wrapping, or cushioning.
3. Variation allowance: accommodation for product and packaging variation.
Avoid automatically adding 2 mm to every dimension.
Also distinguish total allowance from per-side allowance. Adding 2 mm overall is not the same as leaving 2 mm on each opposing side.
For certain cushioning applications, UPS recommends at least two inches of material around contents. That shipping guidance should not be confused with the fitting clearance inside a retail carton.
A Worked Example: Turning Product Measurements into Box Requirements
Consider an illustrative product measuring 120 × 80 × 35 mm.
Suppose the proposed arrangement needs:
- 3 mm of protective space on each left and right side.
- 3 mm on each front and back side.
- 4 mm below the product.
- 2 mm above it.
The preliminary internal dimensions become:
| Axis | Calculation | Preliminary result |
| Length | 120 + 3 + 3 | 126 mm |
| Width | 80 + 3 + 3 | 86 mm |
| Height | 35 + 4 + 2 | 41 mm |
The starting internal specification is therefore 126 × 86 × 41 mm.
These figures are illustrative design assumptions, not a recommendation for every product. They do not establish cushioning performance, board thickness, or manufacturing tolerances.
If an insert will occupy additional space, its complete geometry must be incorporated. A physical sample should confirm the final dimensions.
Measuring Multi-Item Sets and Packaging Inserts
Gift sets and accessory kits should be measured as complete arrangements.
Lay out every item in its intended position, including cables, instruction booklets, spare parts, and promotional cards.
Then check:
- The overall footprint.
- The tallest component.
- Separation between items.
- Space occupied by dividers or insert walls.
- Access needed to remove each component.
An insert has at least two important dimensions: its outside size and the openings that hold the products.
The outside size must fit the box. Each cavity must accommodate the relevant product without unwanted pressure or excessive movement.
For layered sets, measure the entire stack. Include trays and separators rather than assuming that individual product heights alone determine the required box height.
Validate Fit Before Approving Production
A dimension sheet is a starting point, not proof that packaging works.
Review a structural sample using the actual product whenever possible.
Check Packing and Removal
Can someone insert the product smoothly without forcing the box?
Can the customer remove it without damaging the packaging or touching a delicate surface unnecessarily?
Test the complete arrangement, including accessories and printed inserts.
Check Closure and Product Movement
Close the box and inspect for bulging, interference, or pressure points.
Gently assess whether the product shifts within the intended restraint system. This is a preliminary fit check, not a substitute for transport testing.
Confirm the Approved Specification
Record the accepted orientation, internal dimensions, materials, insert design, and agreed tolerances.
Where shipping protection matters, agree on testing appropriate to the product and distribution route. A successful fit test alone does not establish resistance to drops, vibration, or compression.
How Packaging Dimensions Affect Shipping Costs
Shipping calculations use the completed parcel's external dimensions, not the bare product measurements.
Dimensional weight represents package volume relative to a carrier's specified density factor. FedEx explains that charges can depend on dimensional or actual weight, whichever is greater.
As an illustration, using a divisor of 5,000:
- A 30 × 20 × 15 cm parcel has a dimensional weight of 1.8 kg.
- A 30 × 20 × 12 cm parcel has a dimensional weight of 1.44 kg.
The second parcel has 20% less calculated dimensional weight before applicable rounding rules.
That does not guarantee a 20% reduction in shipping charges. Actual weight, service terms, rates, and billing thresholds still matter.
Confirm the current divisor and measurement rules for your chosen service before estimating costs.
Prepare a Clear Custom Packaging Request
A useful inquiry gives your manufacturer enough information to assess structure and fit.
| Information to provide | What to include |
| Product size | Maximum L × W × H and units |
| Product weight | Weight of the complete packed set |
| Orientation | Photograph or labeled sketch |
| Additional contents | Accessories, literature, and spare parts |
| Protection needs | Fragile areas and sensitive surfaces |
| Packaging purpose | Retail presentation, gifting, shipping, or a combination |
| Order requirements | Quantity, artwork, and preferred materials |
| Validation needs | Sample approval and relevant testing expectations |
For Shenzhen XingKun Packing Products Co., Ltd., a clear brief helps connect structural development with printing, presentation, and production requirements.
Before placing your next order, send us your product dimensions, photographs, weight, accessories, and intended packaging use. Request a structural review and physical sample so the fit can be checked before bulk production.
Frequently Asked Questions
1. What Order Should Product Dimensions Follow?
Use L × W × H and state the unit. Include a labeled sketch or photograph because orientation can change how each axis is interpreted.
2. Should I Measure the Product or Its Existing Box?
Measure the product to establish fit requirements. Measure the existing box separately as a reference, identifying whether its dimensions are internal or external.
3. Is Adding 2 mm Enough for a Custom Box?
Not necessarily. Required space depends on the product, construction, insert, protection, and agreed tolerances. Confirm the allowance through structural development and sample testing.
4. How Do I Measure a Bottle with a Pump?
Measure the complete bottle in its packing configuration. Include the pump's maximum extension and overall height. Specify whether the pump is locked, removed, or otherwise repositioned.
5. Which Dimensions Should I Use for Shipping Quotes?
Use the external dimensions of the completed shipping parcel. Follow the carrier's current measurement and rounding rules rather than using product or retail-box dimensions.
6. Can a Smaller Box Always Reduce Packaging Costs?
No. A smaller box may reduce volume, but complex inserts, materials, assembly, and protection requirements can affect total cost. Evaluate the complete packaging system.
References
1. Custom Box Makers — "How to Measure Product Dimensions for A Perfectly Sized Box?" Original article by Tahir Tariq; used as the starting reference for rectangular and cylindrical measurement methods. Its blanket clearance recommendation has been replaced with application-specific guidance. [customboxmakers]
2. UPS — "How to Pack a Box or Pallet for Shipping." Official guidance on cushioning, internal protection, and shipping-package preparation. [ups]
3. FedEx — "What Is Dimensional Weight?" Official explanation of dimensional weight and the relationship between dimensional and actual shipment weight. [fedex]
4. FedEx — "Understand Dimensional Weight to Calculate Costs." Official explanation of the dimensional-weight formula and the need to confirm the applicable carrier divisor. [fedex]
5. XINGKUN — "About Us." Company background, establishment in 2004, and custom printing and packaging product scope. [xkdisplay]


