Content Menu
● What is a custom photo jigsaw puzzle?
● Start with the right photo
>> Choose a photo with visual variety
>> Avoid images that are beautiful but difficult to puzzle
● Check image resolution before printing
>> Use this image-resolution formula
>> Recommended pixel sizes for common puzzle formats
>> Use the original image file
● Match the photo to the puzzle shape
>> Protect the safe area and bleed
● Edit your photo for better puzzle playability
>> Improve brightness and contrast
>> Use color intentionally
>> Add text carefully
● Choose the right number of puzzle pieces
● Select suitable puzzle materials
>> Paperboard puzzles
>> Wooden puzzles
>> Magnetic puzzles
>> Specialty materials and finishes
● Understand the professional production process
>> 1. Confirm the product specification
>> 2. Prepare artwork files
>> 3. Print the puzzle image
>> 4. Mount and finish the board
>> 5. Die-cut the puzzle pieces
>> 6. Pack the puzzle for retail or shipment
● Design packaging that adds value
● Common mistakes when making a photo puzzle
>> Using a low-resolution image
>> Ignoring the crop
>> Putting key details at the edge
>> Choosing an unsuitable piece count
>> Forgetting the box design
>> Approving without a proof
>> Treating puzzle production as standard paper printing
● Expert checklist before ordering a custom jigsaw puzzle
● Why work with XingKun for custom photo puzzles?
● Conclusion
● Frequently asked questions
>> 1.What is the best photo resolution for a custom jigsaw puzzle?
>> 2.Can I make a jigsaw puzzle from a phone photo?
>> 3.What type of photo makes the best custom puzzle?
>> 4.How many pieces should a custom photo puzzle have?
>> 5.Should I add bleed to my puzzle artwork?
>> 6.Can a custom puzzle include my logo and branded packaging?
>> 7.Do custom children's puzzles need safety testing?
● References
Turning a photo into a custom jigsaw puzzle is more than uploading an image and choosing a piece count. A successful custom photo puzzle combines the right artwork, suitable puzzle dimensions, clear printing files, durable materials, precise die-cutting, and retail-ready packaging.
For a family gift, the goal may be sentimental value. For a brand, publisher, museum, retailer, promotional buyer, or wholesale distributor, the goal is more demanding: create a puzzle that looks premium, is enjoyable to assemble, survives packing and shipping, represents the brand accurately, and meets the expectations of the intended market.
At XingKun, we view custom jigsaw puzzle production as a complete product-development process. The photo is the starting point, but the final puzzle experience depends on what happens before and after printing: artwork preparation, color management, board selection, piece configuration, cutting precision, box design, and quality control.
This guide explains how to make a photo into a custom jigsaw puzzle step by step, including professional design advice, common production mistakes, image-resolution requirements, material decisions, packaging options, and procurement considerations for OEM and ODM puzzle projects.
What is a custom photo jigsaw puzzle?
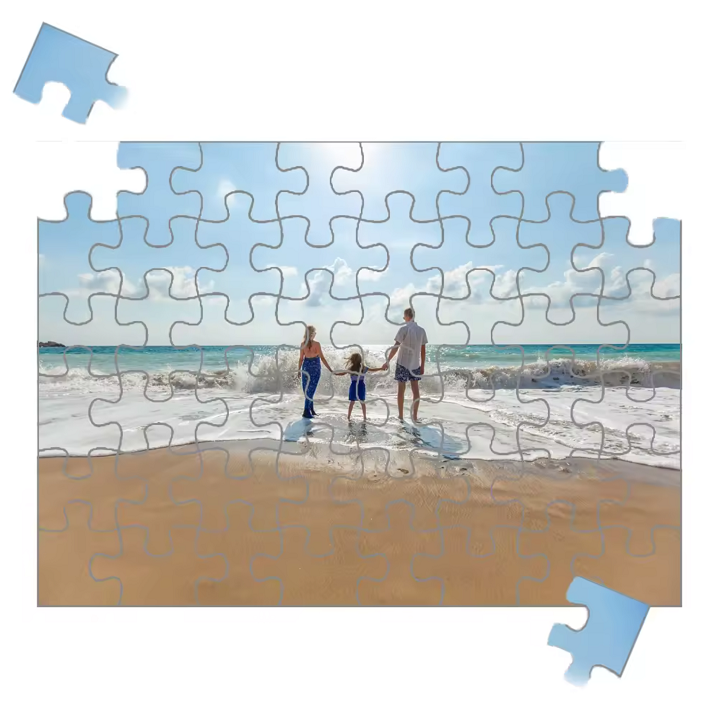
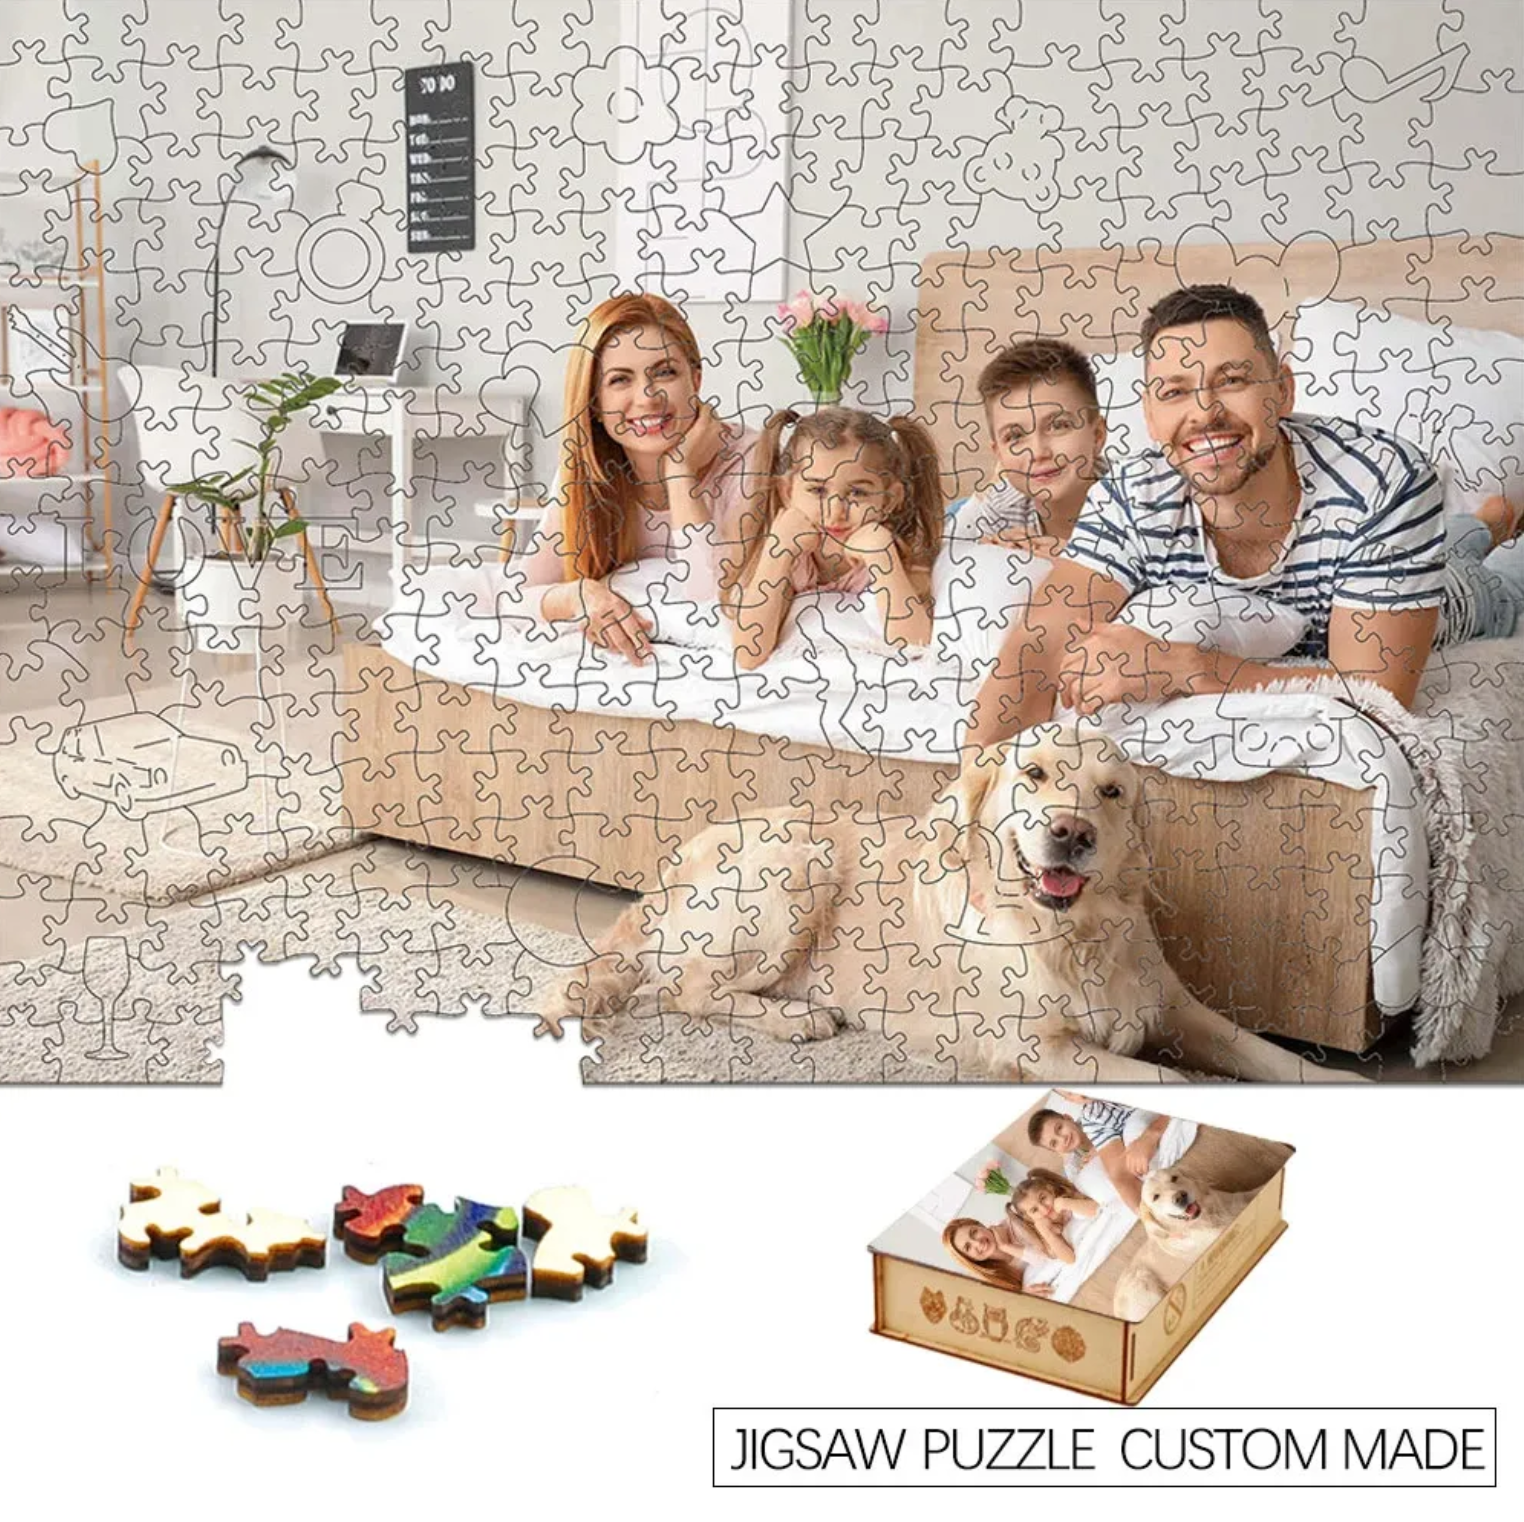
A custom photo jigsaw puzzle is a physical puzzle made by printing a customer-provided photograph, illustration, artwork, logo design, collage, or branded visual onto puzzle board or another selected material. The printed sheet is mounted to a rigid substrate, then die-cut or laser-cut into interlocking pieces.
Custom puzzles can be created for many purposes:
- Personalized gifts for birthdays, weddings, anniversaries, and holidays
- Family-photo or pet-photo keepsakes
- Corporate gifts and employee-recognition products
- Brand merchandise and retail puzzle collections
- Museum, gallery, tourism, and landmark souvenirs
- Educational puzzles for children and schools
- Fundraising products for charities and community organizations
- Promotional giveaways and direct-mail campaigns
- Subscription boxes and e-commerce gift products
- Artist collaborations and limited-edition collectibles
The simplest product is a one-off personalized picture puzzle. However, an OEM custom puzzle can also include a fully branded puzzle box, instruction insert, poster, paper bag, custom piece shapes, barcode labels, protective wrapping, and compliance documentation.
Start with the right photo
The best custom jigsaw puzzle begins with an image that is both visually attractive and practical to solve. A photo can look excellent on a phone screen but still perform poorly when printed and divided into hundreds of small pieces.
When selecting an image, consider two questions:
1. Will the photo reproduce sharply at the final puzzle size?
2. Will the puzzle be interesting enough to assemble?
A high-quality custom puzzle should offer recognizable visual zones, color variation, texture, and details that help solvers sort pieces and make progress.
Choose a photo with visual variety
Photos with varied colors, objects, lines, and textures usually make stronger jigsaw puzzles. Travel photographs, city streets, gardens, family gatherings, pets in detailed environments, food spreads, architectural scenes, and illustrated artwork often work well.
Good photo characteristics include:
- Distinct color areas, such as blue sky, green landscape, buildings, clothing, and water
- Visible details across the entire composition
- Clear edges, objects, patterns, or landmarks
- Balanced light and contrast
- A main visual subject that remains recognizable from a distance
- Enough background detail to keep assembly engaging
- A composition that fits the intended puzzle orientation
For example, a wedding photo with the couple centered and a detailed floral venue in the background may work well. The couple provides a focal point, while flowers, furniture, architecture, and guests provide visual clues during assembly.
Avoid images that are beautiful but difficult to puzzle
Some images print well but create a frustrating puzzle experience. Large areas of nearly identical color, extremely blurred backgrounds, dark low-contrast photographs, or heavy visual filters can make piece sorting unnecessarily difficult.
Use caution with:
- Large blank skies
- Flat black or white backgrounds
- Extremely blurry portrait backgrounds
- Very dark night photographs
- Overexposed images with lost highlights
- Low-resolution screenshots
- Images downloaded from social media after compression
- Photos containing important text near the edge
- Highly repetitive patterns without recognizable landmarks
A wide blue ocean scene may be visually calm, but it can become challenging in a 1,000-piece puzzle because many pieces look almost identical. If the image is important, adding a shoreline, boat, coastline, clouds, or illustrated border can make the finished product more enjoyable.
Check image resolution before printing
Image resolution is one of the most important factors in custom puzzle printing. A low-resolution image may look soft, pixelated, or blurry once enlarged to the full puzzle size.
For commercial photo printing, 300 DPI or PPI at final output size is widely considered a strong target. Some manufacturers accept lower resolution, often around 150 DPI, but higher-resolution source files provide more flexibility and better detail reproduction. Industry guidance for custom puzzles commonly recommends preparing images at approximately 300 DPI for the final printed dimensions. [jigsawonline]
DPI means dots per inch, while PPI means pixels per inch. In practical artwork preparation, customers usually work with pixels, and printers assess whether those pixels provide enough detail for the final printed size.
Use this image-resolution formula
To estimate the pixel dimensions required:
Required pixels=Final size in inches×Target PPI
For a 12 × 18 inch custom picture puzzle at 300 PPI:
12×300=3,600 pixels
18×300=5,400 pixels
Therefore, the recommended image size is at least 3,600 × 5,400 pixels.
Recommended pixel sizes for common puzzle formats
| Finished puzzle size |
Recommended image resolution at 300 PPI |
Common applications |
| 5 × 7 inches |
1,500 × 2,100 pixels |
Small gifts, children’s puzzles, promotional items |
| 8 × 10 inches |
2,400 × 3,000 pixels |
Photo gifts, compact retail puzzles |
| 12 × 16 inches |
3,600 × 4,800 pixels |
Mid-size family and brand puzzles |
| 12 × 18 inches |
3,600 × 5,400 pixels |
Personalized photo puzzles, premium gifts |
| 16 × 20 inches |
4,800 × 6,000 pixels |
Large photo and artwork puzzles |
| 20 × 27 inches |
6,000 × 8,100 pixels |
1,000-piece retail puzzles and collector products |
These figures are practical targets, not a substitute for a manufacturer's final template. Each factory may use different product dimensions, bleed specifications, cut lines, and safe areas.
Use the original image file
Whenever possible, use the original camera file, professionally exported artwork, or licensed high-resolution stock image. Avoid using a screenshot, a photo copied from a messaging application, or a small image saved from a website.
Social platforms and messaging apps often compress images to reduce file size. That compression can remove fine detail, introduce artifacts, and make the image unsuitable for larger puzzle formats.
For best results, submit:
- Original JPG or high-quality JPEG file
- TIFF file for high-detail professional artwork
- PNG file for graphic artwork with transparency
- PDF file for print-ready layouts
- AI, PSD, or other editable source files for complex branded projects
For commercial custom puzzle printing, a layered design file can be especially valuable because it allows the production team to adjust the bleed, safe area, logo placement, packaging graphics, and color settings without damaging the original design.
Match the photo to the puzzle shape
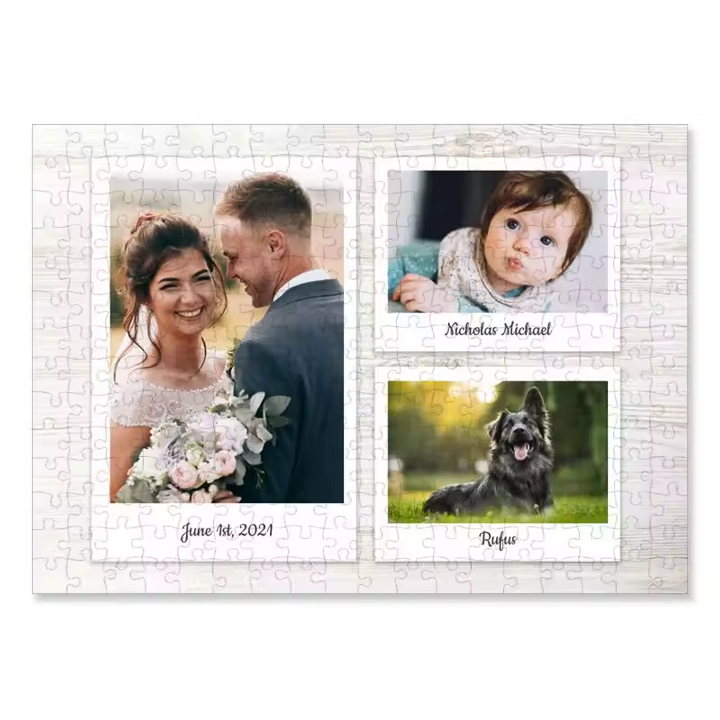
A photo should match the puzzle's final orientation. Before placing an order, determine whether your selected image is best suited to a landscape, portrait, square, panoramic, round, heart-shaped, or irregular format.
A landscape photograph generally works best for a horizontal rectangular puzzle. Portrait photographs are often more suitable for vertical formats. A square social-media image can work well for a square puzzle box or a compact gift puzzle.
Do not force a vertical photo into a horizontal puzzle layout without checking the crop. Important visual elements can be lost at the sides.
Protect the safe area and bleed
Professional puzzle printing requires a bleed area. Bleed is extra image content that extends beyond the final cut line. It prevents unprinted white edges if minor movement occurs during printing, mounting, or die-cutting.
A safe area is the protected interior area where important elements should remain. Keep faces, product labels, logos, QR codes, and text comfortably inside the safe area rather than placing them against the edge.
Industry puzzle artwork guidelines often specify that image content near the outer edge can be trimmed during production. Some guidelines recommend allowing several millimeters of bleed and keeping critical elements inside a designated safe area. [createjigsawpuzzles]
For a branded puzzle, this is particularly important. A cropped logo or partially cut-off QR code can reduce the product's perceived quality and create avoidable rework.
Edit your photo for better puzzle playability
Photo editing is not only about making the image look attractive. It is also about making the puzzle easier and more satisfying to assemble.
Improve brightness and contrast
A well-balanced image is easier to reproduce consistently. If the original image is too dark, shadows can merge into large, indistinguishable areas. If it is too bright, subtle details may disappear.
Before final approval, review:
- Overall brightness
- Shadow detail
- Highlight detail
- Color saturation
- Contrast between objects
- Sharpness around the primary subject
- Skin-tone accuracy for portraits
- Visibility of logos and small text
Avoid over-sharpening. Excessive sharpening may create halos around edges and unnatural textures in print.
Use color intentionally
A custom puzzle needs visual separation. If every area uses similar shades of gray, beige, blue, or green, the completed puzzle can be challenging to sort.
For branded puzzles, consider introducing controlled color contrast through:
- A colored border
- A title area
- Decorative frames
- Illustrated accents
- Branded color blocks
- A puzzle poster or reference card
- Distinct foreground and background zones
This approach can improve both the unboxing experience and the solving experience.
Add text carefully
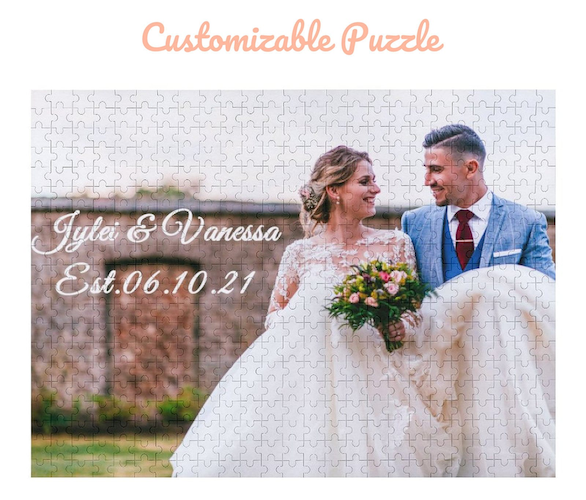
Names, dates, special messages, event titles, and company branding can make a photo puzzle more meaningful. However, text must be large enough to print clearly and should never sit too close to the cut edge or a highly detailed background.
For example, a wedding puzzle might include:
> Emma & Daniel
> Our Forever Begins
> June 14, 2026
Place the text in a clear part of the image, use a readable font, and request a digital proof before production.
For retail products, a small brand logo may be appropriate on the puzzle image, but large promotional text can reduce the product's decorative appeal. In many cases, it is better to place strong branding on the box while keeping the puzzle face visually engaging.
Choose the right number of puzzle pieces
The ideal piece count depends on the age of the user, the image complexity, the desired price point, and the intended sales channel.
A 24-piece children's puzzle and a 1,000-piece collector puzzle are very different products. They require different artwork approaches, piece sizes, safety considerations, packaging formats, and user expectations.
| Piece count |
Typical user or use case |
Recommended image complexity |
Product considerations |
| 12–30 pieces |
Toddlers and preschool products |
Simple, bold, recognizable images |
Larger pieces, age grading, safety review |
| 48–100 pieces |
Children and beginner puzzles |
Clear characters, simple scenes |
Educational and gift products |
| 150–300 pieces |
Families, promotions, casual users |
Moderate detail and strong color zones |
Suitable for branded gifts |
| 500 pieces |
Adults, families, retail |
Detailed photo, illustration, travel scene |
Popular mid-level challenge |
| 1,000 pieces |
Puzzle enthusiasts and collector markets |
High detail, texture, storytelling |
Premium retail opportunity |
| 1,500+ pieces |
Advanced puzzlers |
Complex artwork with wide visual variety |
Larger size, stronger packaging needed |
For children's products sold in the United States, product safety obligations may apply. The U.S. Consumer Product Safety Commission states that toys intended primarily for children aged 12 and under generally require third-party testing by a CPSC-accepted laboratory and certification through a Children's Product Certificate, subject to applicable regulations. ASTM F963 is incorporated as a mandatory U.S. toy safety standard under relevant rules. [cpsc]
For brands, this means product positioning matters. A puzzle marketed as a children's toy may require different compliance planning than an adult gift puzzle or art-product puzzle.
Select suitable puzzle materials
Most mass-market custom jigsaw puzzles use paperboard or grayboard construction. The printed surface is typically laminated or coated, then mounted to a rigid board before die-cutting.
The right material depends on the product's positioning, budget, piece count, and sales channel.
Paperboard puzzles
Paperboard is the most common option for photo puzzles and retail jigsaw puzzles. It can support high-quality full-color printing, scalable manufacturing, compact packaging, and a familiar puzzle feel.
Key advantages include:
- Cost-effective for medium and large production runs
- Suitable for full-color CMYK printing
- Compatible with custom puzzle boxes
- Available with matte, gloss, linen, or specialty finishes
- Appropriate for gifts, retail, promotional products, and educational puzzles
A matte finish is often preferred for photo puzzles because it reduces glare under indoor lighting. A linen-style surface can add a classic puzzle texture, while gloss may make colors appear more vivid but can create reflections.
Wooden puzzles
Wooden puzzles offer a premium feel, stronger rigidity, and potential for whimsical or irregular piece shapes. They are often used for boutique gifts, premium children's products, art merchandise, and collector editions.
Wood puzzles may be more expensive, especially when using laser-cut production. However, they can support elevated brand positioning and higher retail prices.
Magnetic puzzles
Magnetic custom puzzles can be used for refrigerator gifts, educational activities, tourism souvenirs, and promotional products. They are especially suitable when the customer wants the puzzle to be displayed after assembly.
Specialty materials and finishes
Depending on the project, brands may also explore:
- Foil stamping on the box
- Spot UV on packaging artwork
- Embossed logos
- Eco-conscious paperboard options
- Recyclable packaging structures
- Cotton drawstring bags for puzzle pieces
- Poster inserts for reference
- Tamper-evident shrink wrapping
- Custom-shaped boxes
The best solution is not always the most expensive option. It is the option that aligns with target retail price, brand positioning, order quantity, transport requirements, and expected customer experience.
Understand the professional production process
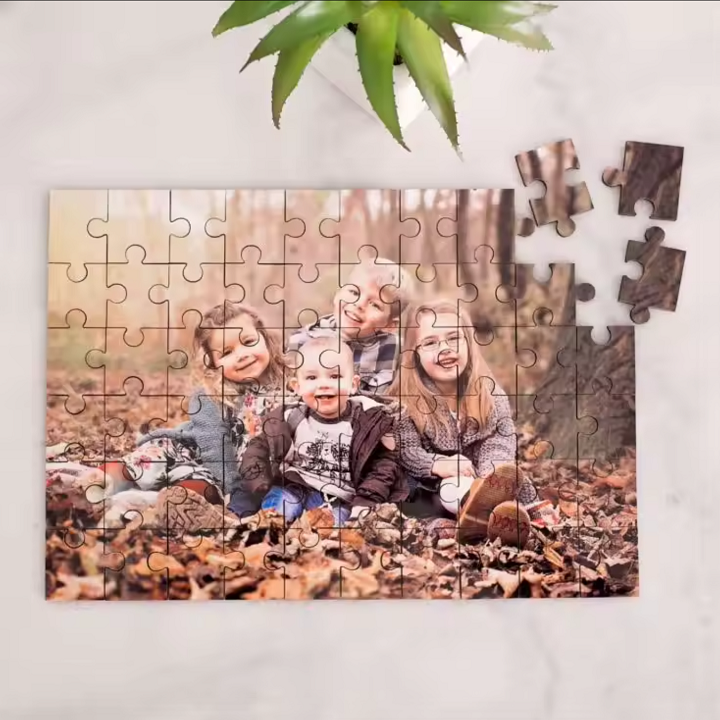
A reliable custom jigsaw puzzle manufacturer follows a controlled workflow from artwork review to final packing.
1. Confirm the product specification
Before artwork preparation, define the key specifications:
- Finished puzzle dimensions
- Puzzle orientation
- Number of pieces
- Material and board thickness
- Surface finish
- Custom die-cut pattern or standard piece pattern
- Puzzle box size and structure
- Packaging inserts
- Quantity and target market
- Required safety or compliance standards
- Delivery date and shipping destination
Clear specifications reduce revisions and help the supplier provide a more accurate quotation.
2. Prepare artwork files
The manufacturer or prepress team checks the artwork for resolution, color mode, bleed, safe area, orientation, and text clarity.
For photo-based custom puzzles, RGB files may be accepted for digital workflows, but commercial printing often involves CMYK conversion. Color can shift when moving from a screen-based RGB display to a printed CMYK result. Some puzzle suppliers specifically recommend working in sRGB for image-based workflows, while print-ready commercial files may be prepared through an agreed proofing process. [pictorem]
If brand color accuracy is critical, provide Pantone references where relevant and request a proof or pre-production sample.
3. Print the puzzle image
For larger OEM orders, offset printing may be suitable because it provides stable color reproduction and cost efficiency at scale. Digital printing can be useful for prototypes, smaller orders, variable-photo projects, or rapid personalization programs.
The selected process should depend on the order quantity, desired lead time, artwork complexity, and finish requirements.
4. Mount and finish the board
The printed sheet is mounted to puzzle board or another selected substrate. Surface finishing may be applied before die-cutting to improve appearance, resistance, and handling.
Quality control at this stage should inspect:
- Surface scratches
- Color consistency
- Lamination quality
- Edge lifting
- Board warping
- Registration accuracy
5. Die-cut the puzzle pieces
A puzzle die cuts the mounted board into interlocking pieces. Cutting precision affects how securely pieces fit together, how easily they separate, and how premium the puzzle feels.
Poorly controlled cutting can lead to loose pieces, duplicate shapes, incomplete cuts, dust, torn edges, or pieces that do not fit smoothly. These defects are especially damaging for premium retail brands because consumers judge quality immediately while assembling the puzzle.
6. Pack the puzzle for retail or shipment
Finished pieces may be packed in a polybag, paper bag, cotton bag, or other protective inner packaging. The puzzle can then be packed into a custom printed box with inserts, posters, instructions, warning labels, barcode labels, or branded cards.
For e-commerce brands, protective packaging matters because the product may travel through multiple fulfillment and last-mile delivery stages before reaching the customer.
Design packaging that adds value
For branded custom puzzles, the box is not merely a container. It is the first physical touchpoint with the product.
A strong puzzle box should communicate:
- The artwork or product theme
- Piece count
- Finished dimensions
- Recommended age range, when applicable
- Brand name and logo
- Barcode and SKU
- Safety warnings, where required
- Country-of-origin and compliance information, where required
- Product story or artist information
- Assembly reference image
- Instructions for care and storage
A puzzle box can also support storytelling. A museum puzzle may explain the featured artwork. A travel puzzle can introduce the destination. A brand collaboration can present the artist's story, social links, QR code, and limited-edition number.
For higher-value products, consider adding a full-size reference poster. This can improve user experience, support gift presentation, and make the product feel more complete.
Common mistakes when making a photo puzzle
Avoiding common mistakes can reduce rework, delays, and customer complaints.
Using a low-resolution image
A small online image may become blurry when enlarged. Always check pixels against final print size before approving production.
Ignoring the crop
A photo may be technically high resolution but have the wrong aspect ratio. Cropping can remove faces, logos, or meaningful background elements.
Putting key details at the edge
Important content can be lost during trimming and die-cutting. Keep essential visual elements inside the safe area.
Choosing an unsuitable piece count
A very detailed 1,000-piece puzzle may be inappropriate for young children. A simple 30-piece design may feel underwhelming for adult puzzle enthusiasts.
Forgetting the box design
A good puzzle image does not automatically create good retail packaging. The box needs product information, clear hierarchy, brand identity, and shipping durability.
Approving without a proof
A digital proof helps confirm crop, color, text, packaging layout, and artwork placement. For high-value retail launches, a physical pre-production sample may be worth the additional time and cost.
Treating puzzle production as standard paper printing
Puzzle manufacturing introduces additional factors: mounting, board thickness, die-cut accuracy, piece fit, puzzle dust, packaging protection, and piece-count verification. These need to be managed during supplier selection and quality control.
Expert checklist before ordering a custom jigsaw puzzle
Use this checklist before sending your artwork to a custom puzzle factory:
- Confirm the final puzzle size and orientation
- Select a photo with strong detail and color variation
- Use the original high-resolution file whenever possible
- Target approximately 300 PPI at final output size
- Keep faces, logos, and text inside the safe area
- Add bleed according to the factory template
- Choose a piece count appropriate for the user
- Select board material and surface finish
- Decide whether you need a standard or custom piece pattern
- Prepare box artwork, barcode, instructions, and warning labels
- Request a digital proof before mass production
- Consider a physical sample for major retail launches
- Confirm testing and compliance requirements for the target market
- Define acceptable quality standards for color, fit, dust, and packaging
Why work with XingKun for custom photo puzzles?
For brands, wholesalers, publishers, and promotional buyers, creating a custom photo puzzle requires more than a print supplier. It requires a manufacturing partner that can support artwork review, material selection, printing, die-cutting, packaging, and OEM customization.
XingKun supports custom printed products and packaging for international customers, including custom jigsaw puzzles, packaging boxes, playing cards, printed books, stickers, labels, and related paper-based products.
A custom puzzle project can be developed around your specific requirements:
- Personalized or branded puzzle artwork
- Custom piece counts and dimensions
- Paperboard, wood, magnetic, and specialty options
- OEM and ODM packaging development
- Custom printed puzzle boxes
- Inserts, posters, paper bags, and instruction cards
- Brand labels, barcodes, QR codes, and retail information
- Artwork checking and production proofing
- Wholesale and bulk-order manufacturing support
If you are launching a retail puzzle line, creating branded corporate gifts, developing an educational product, or sourcing custom photo puzzles for e-commerce, start by preparing your image, desired size, piece count, quantity, and packaging requirements.
Ready to turn your photo into a custom jigsaw puzzle? Contact XingKun with your artwork and product specifications to request a quotation, receive a production recommendation, and develop a puzzle that fits your brand, market, and budget.
Conclusion
To turn a photo into a custom jigsaw puzzle successfully, begin with a high-resolution image, match it to the correct puzzle size and orientation, protect important details with bleed and safe-area planning, and choose materials and a piece count that suit the user.
For personal gifts, the most important factors are emotional relevance, image quality, and ease of assembly. For commercial projects, you also need to evaluate packaging, print consistency, die-cut quality, regulatory obligations, brand presentation, and supply-chain reliability.
A well-produced custom photo puzzle can become far more than a novelty item. It can be a meaningful gift, a memorable promotional tool, a collectible retail product, or a long-lasting extension of a brand's story.
Frequently asked questions
1.What is the best photo resolution for a custom jigsaw puzzle?
For the best print quality, aim for approximately 300 PPI at the final puzzle size. For example, a 12 × 18 inch puzzle should ideally use an image around 3,600 × 5,400 pixels. Some suppliers can print lower-resolution files, but enlargement may reduce sharpness. [jigsawonline]
2.Can I make a jigsaw puzzle from a phone photo?
Yes. Many modern smartphones capture images with enough pixels for small and medium puzzle sizes. Use the original camera photo rather than a screenshot, social-media download, or image sent through a compressed messaging platform. Check the image dimensions before ordering, especially for larger 500-piece or 1,000-piece puzzles.
3.What type of photo makes the best custom puzzle?
The best photo has strong visual variety, clear details, balanced lighting, and multiple identifiable areas. Travel scenes, family photographs, pet photos with textured surroundings, cityscapes, nature scenes, and illustrations generally work well. Avoid large areas of plain sky, darkness, or blurred background.
4.How many pieces should a custom photo puzzle have?
Choose the piece count based on the intended user. Children's puzzles may use 12 to 100 larger pieces. Casual family products often use 150 to 500 pieces. Adult retail and collector puzzles frequently use 500 or 1,000 pieces. The image should become more detailed as the piece count increases.
5.Should I add bleed to my puzzle artwork?
Yes. Bleed is extra image area beyond the finished cut line. It helps prevent white edges caused by minor production variation. Keep important text, faces, logos, and QR codes inside the safe area, not at the edge. Your manufacturer should provide an artwork template with exact bleed and safe-area specifications. [createjigsawpuzzles]
6.Can a custom puzzle include my logo and branded packaging?
Yes. OEM custom puzzles can include a logo on the puzzle, custom printed boxes, inserts, posters, barcode labels, QR codes, promotional cards, and other retail packaging features. For the best visual result, place essential brand messaging strategically instead of covering the puzzle image with excessive text.
7.Do custom children's puzzles need safety testing?
It depends on the target market, product design, age grading, and how the product is marketed. In the United States, toys intended primarily for children aged 12 and under generally require testing by a CPSC-accepted third-party laboratory and certification through a Children's Product Certificate for applicable requirements. Brands should confirm compliance obligations with qualified testing and regulatory professionals before launch. [cpsc]
References
1. [U.S. Consumer Product Safety Commission — Toy Safety Business Guidance]. Explains U.S. toy-safety requirements, including the relationship between CPSIA, ASTM F963, testing, and certification obligations for applicable children's products.
2. [U.S. Consumer Product Safety Commission — Toy Safety FAQ]. Provides CPSC guidance stating that toys designed or intended primarily for children aged 12 and under require third-party testing and certification for applicable regulations.
3. [U.S. Consumer Product Safety Commission — ASTM F963 Requirements Chart]. Summarizes ASTM F963 sections that may apply to toys and identifies requirements that may require third-party testing.
4. [Create Jigsaw Puzzles — FAQ on Digital Photos, Pixels, and Image File Types]. Provides practical puzzle-artwork information on image pixels, bleed, safe areas, and example minimum image sizes for different puzzle formats.
5. [Contrado — Custom Jigsaw Puzzle Print Guidelines]. Covers resolution guidance, RGB/sRGB color handling, TIFF and JPEG file considerations, and bleed requirements for custom puzzle printing.
6. [Pictorem — Custom Puzzle Prints]. Notes its 300 DPI image-processing approach and recommends high-quality JPG files using the sRGB profile.
7. [Jigsaw Online — Personalized Puzzle Creation Guide]. Discusses 300 DPI puzzle artwork preparation, pixel calculations, original image files, and edge/bleed considerations.
8. [ZXC Print — Custom Puzzle Printing]. Provides example production specifications for custom puzzles, including 300 DPI artwork, bleed, board options, printing methods, and order-size considerations.
9. [XingKun — Custom Picture Puzzles]. Product reference page for custom picture puzzle inquiry and OEM/ODM customization requirements.


